Coconut Raspberry ice cream
You have tasted Coconut ice cream. You have probably also had Raspberry ice cream. But have you ever tried to combine them?
My tasty summer discovery
Perhaps you already knew that coconut and raspberry was an ice cream-pairing made in heaven but I must confess that I did not!
But the other day, when a local ice cream parlour offered this surprisingly rare combination, my curiosity gained the upper hand (as always…) – And what a great flavour-bliss it was!
So here, without further ado, is my easy-to-make recreation!
Very few ingredients, quick preparations, no cooking on the stove required and delightful results: can it be better?
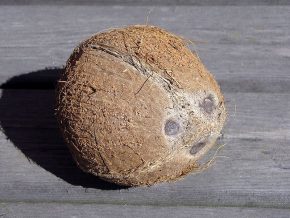
A winning combination: Coconut

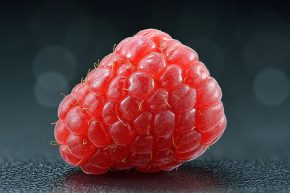
… and raspberry
The (very simple) way to do it
The recipe can be made with only three ingredients: coconut milk, sugar and raspberry jam.
(I have suggested a few optional tweaks below though, for example if you’d like to reduce the overall amount of “ordinary” white sugar a bit.)
Why only coconut milk? Well, personally I find that I much prefer coconut ice creams made wholly out of coconut milk/coconut cream.
For the raspberry part, I recommend using some good-quality jam. This is not only because I’m lazy. We will be aiming for a ripple here, and I encourage anyone who so wishes to prepare a raspberry purée out of berries: this will also work. However, in order for a purée to work well as a non-icy and structurally helpful part of the ice cream, I would also suggest that you add some sugar to it and preferably also cook it a little in order to reduce the water content and make sure that the sugar is well dispersed. And if you do all that, you’re basically well on your way to making jam anyway so …
In my quest for simplification, I went to the local store and got hold of some coconut milk and a good raspberry jam.
For the coconut milk, aim for unsweetened, with a fat content of at least about 17-18 %: if you find the thicker coconut cream-type, it works even).
For the jam, go for the best you can. Preferably something with a raspberry content of at least 50 %. Oh, and the jam should preferably
be sweetened with sugar, since many “non-sugar sweeteners” simply lack the anti-freeze qualities so important for use in ice creams.
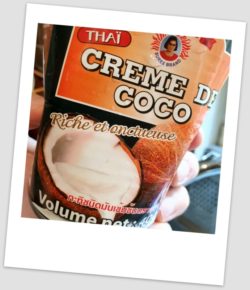

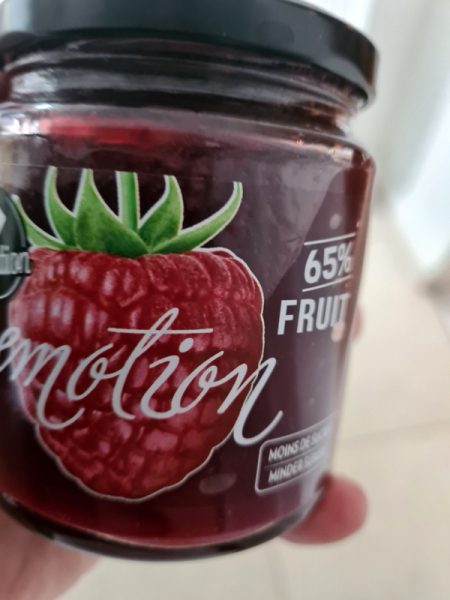
Step one: Mix together everything except the jam
Yes, it is as simple as that!
Coconut milk + sugar = our ice cream base ready for churning (or still-freezing in your freezer, if you have not ice cream machine).
But I promised a few optional tweaks, and you will also find them in the recipe below.
First, if you’d like to cut down a bit on the overall sugar, you may wish to consider substituting some of it with birch sugar (also known as xylitol): the best “non-sugar” sugar alternative I know, which not only tastes like sugar but even has better anti-freezing qualities than ordinary white sugar therefore works excellently in ice creams.
For some subtly added flavour depth, add a pinch of salt.
For some additional “coconut feeling”, consider adding some coconut flakes to the base towards the end of the process.
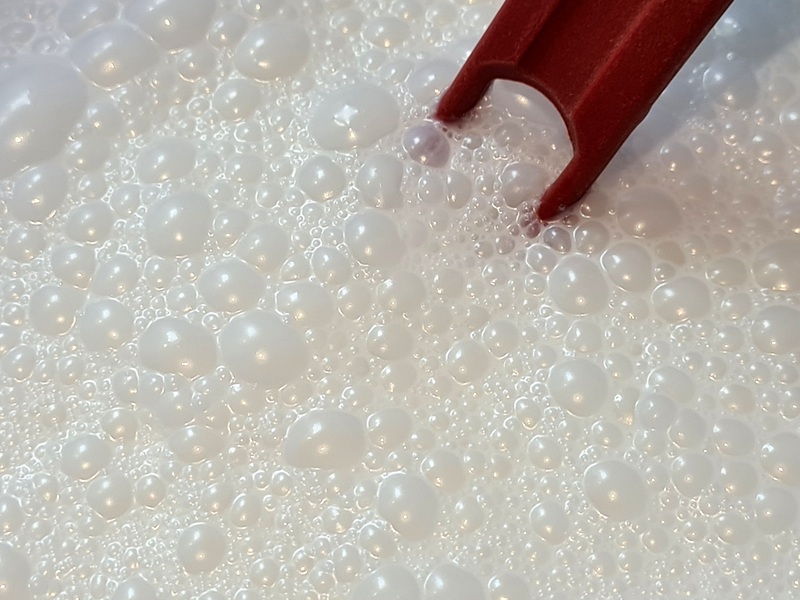
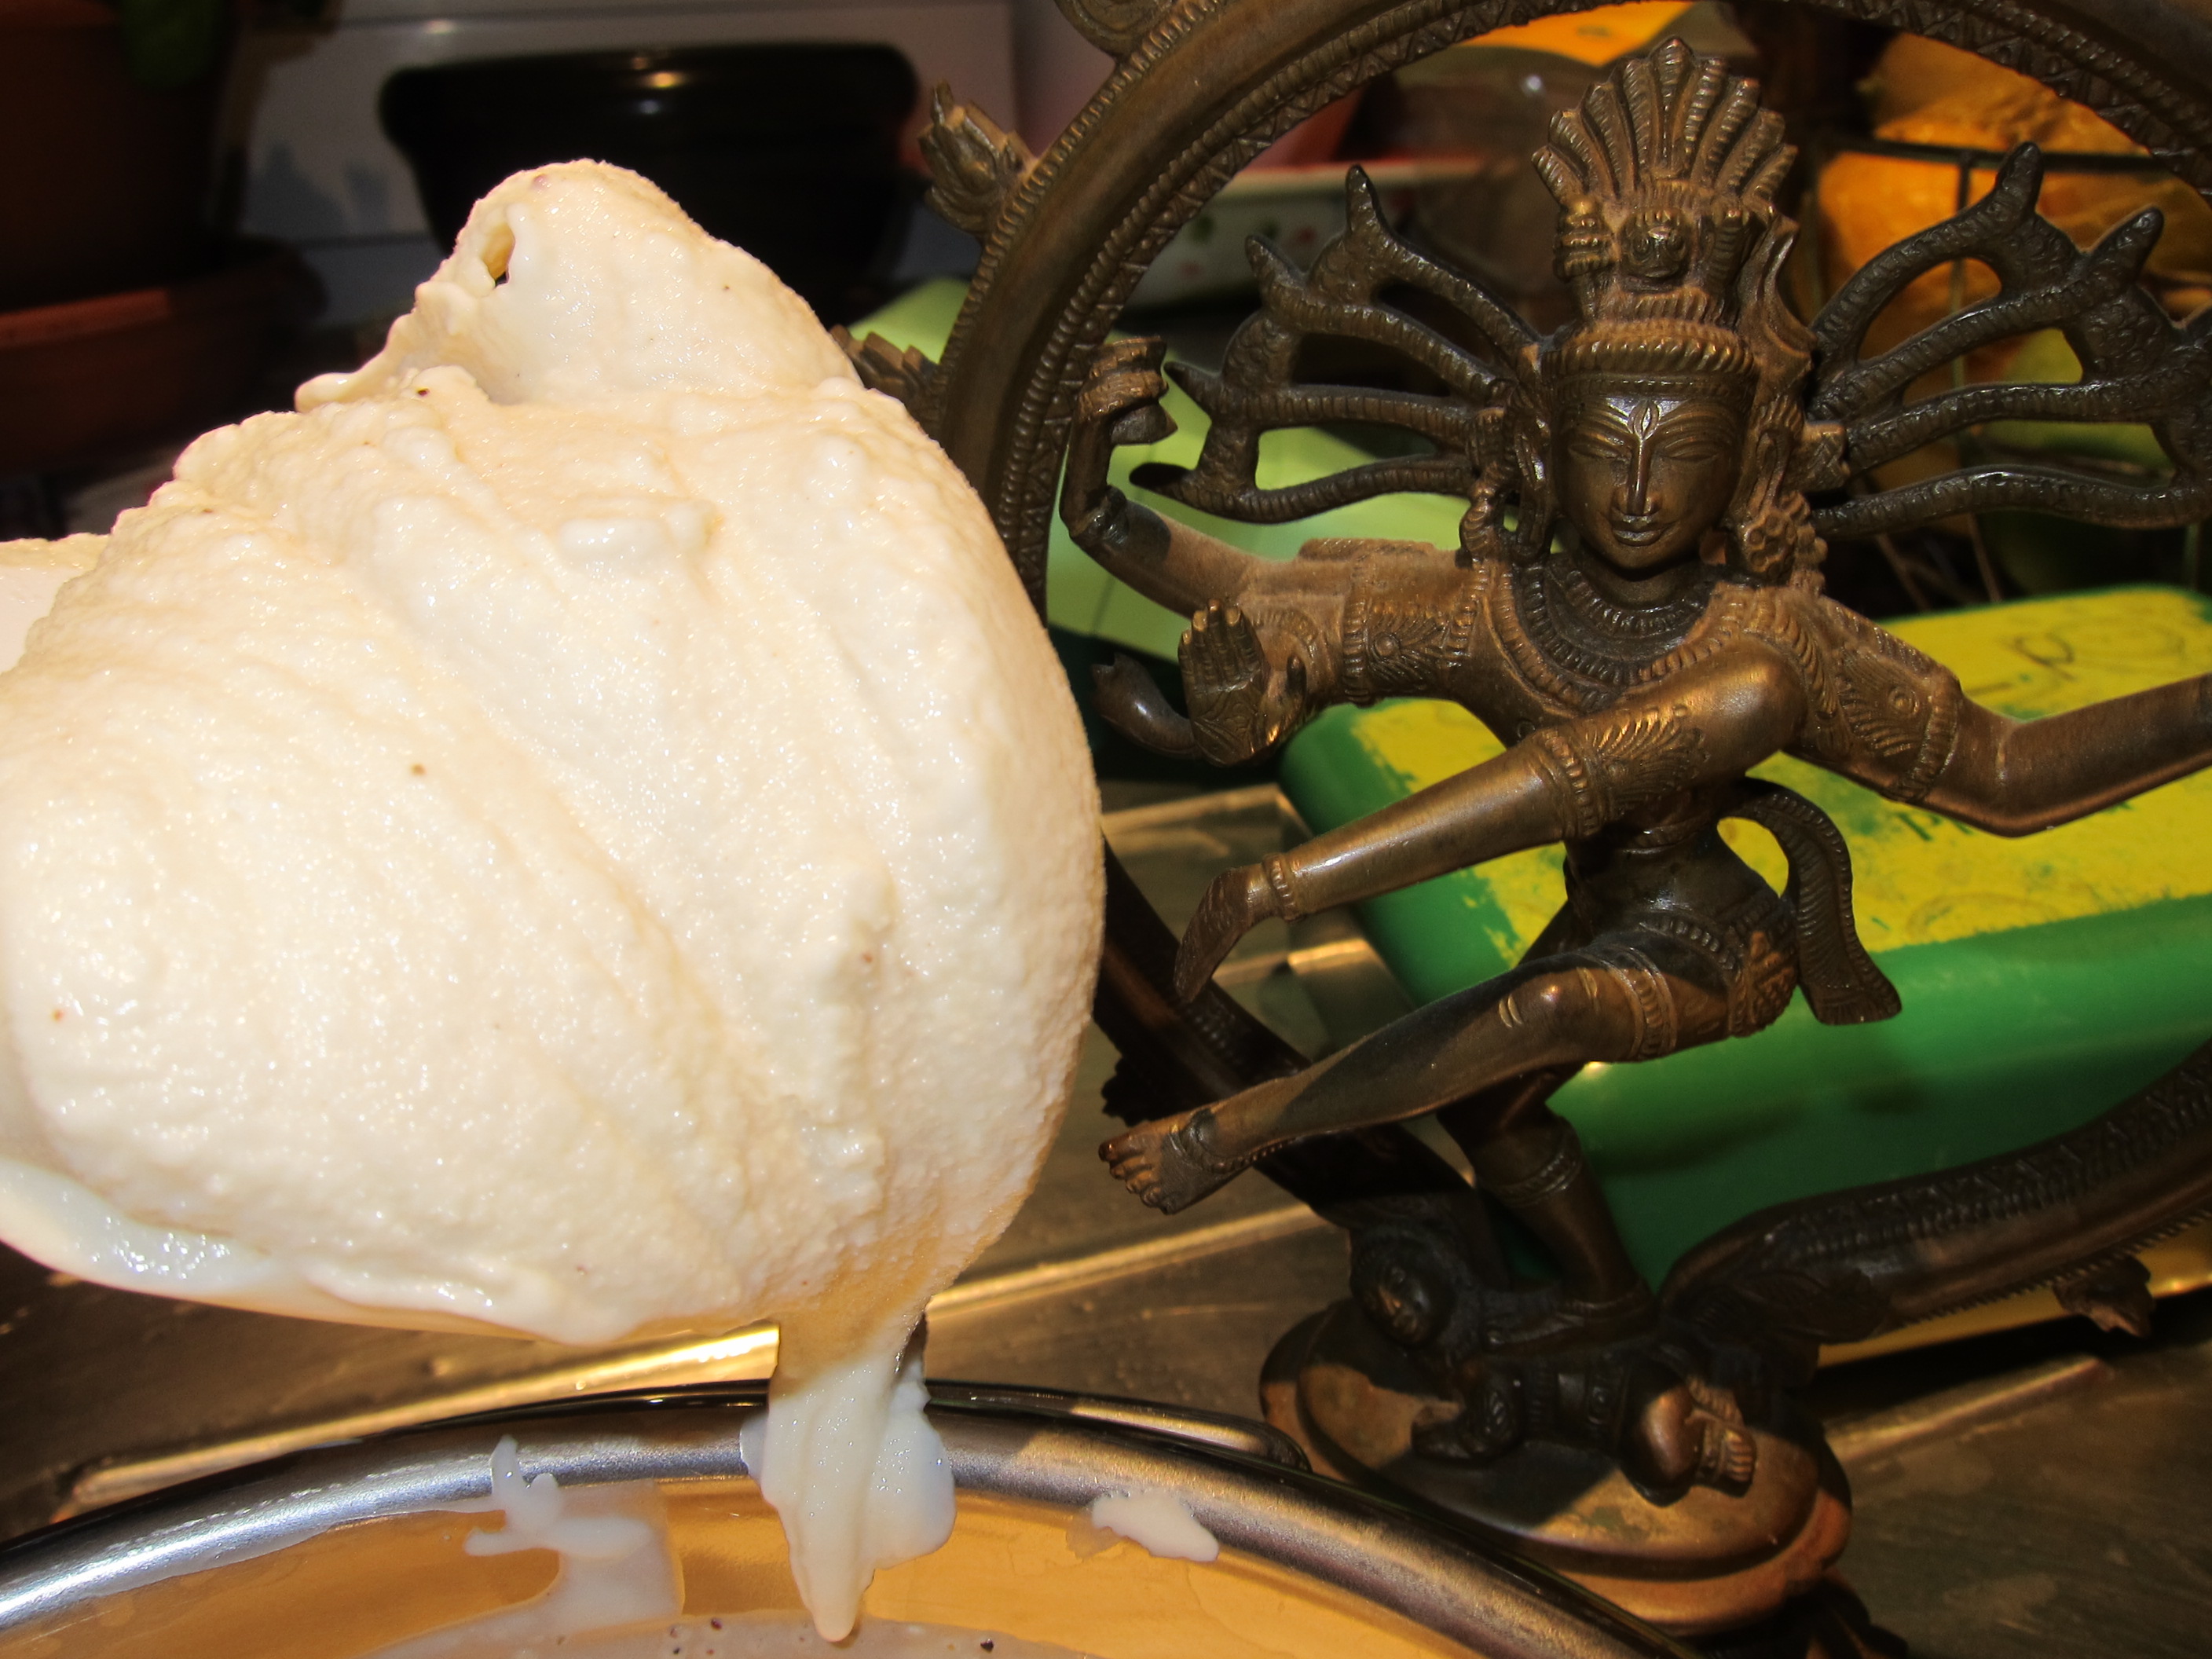
Whisking the base. Since there is no cooking involved, this takes no time at all!
Step two: Churn the coconut ice cream
If you have no ice cream machine, you can still-freeze the base in your kitchen freezer.
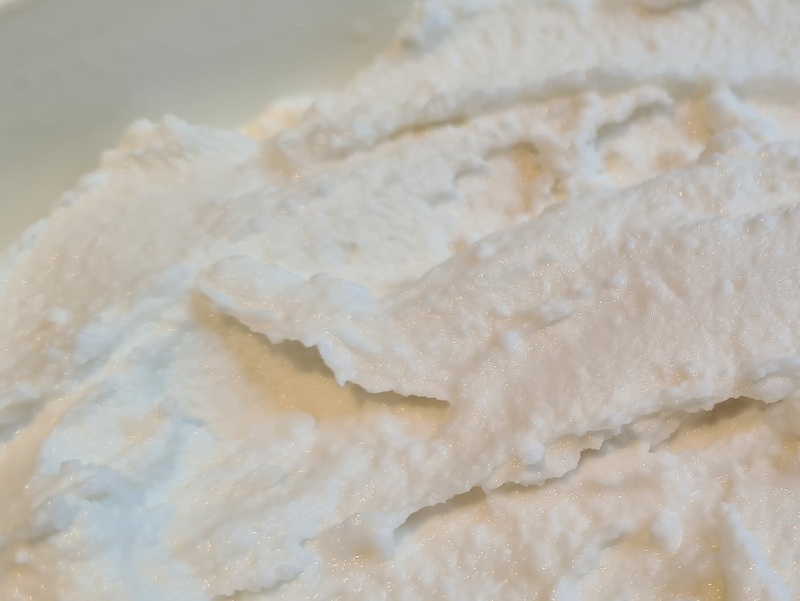
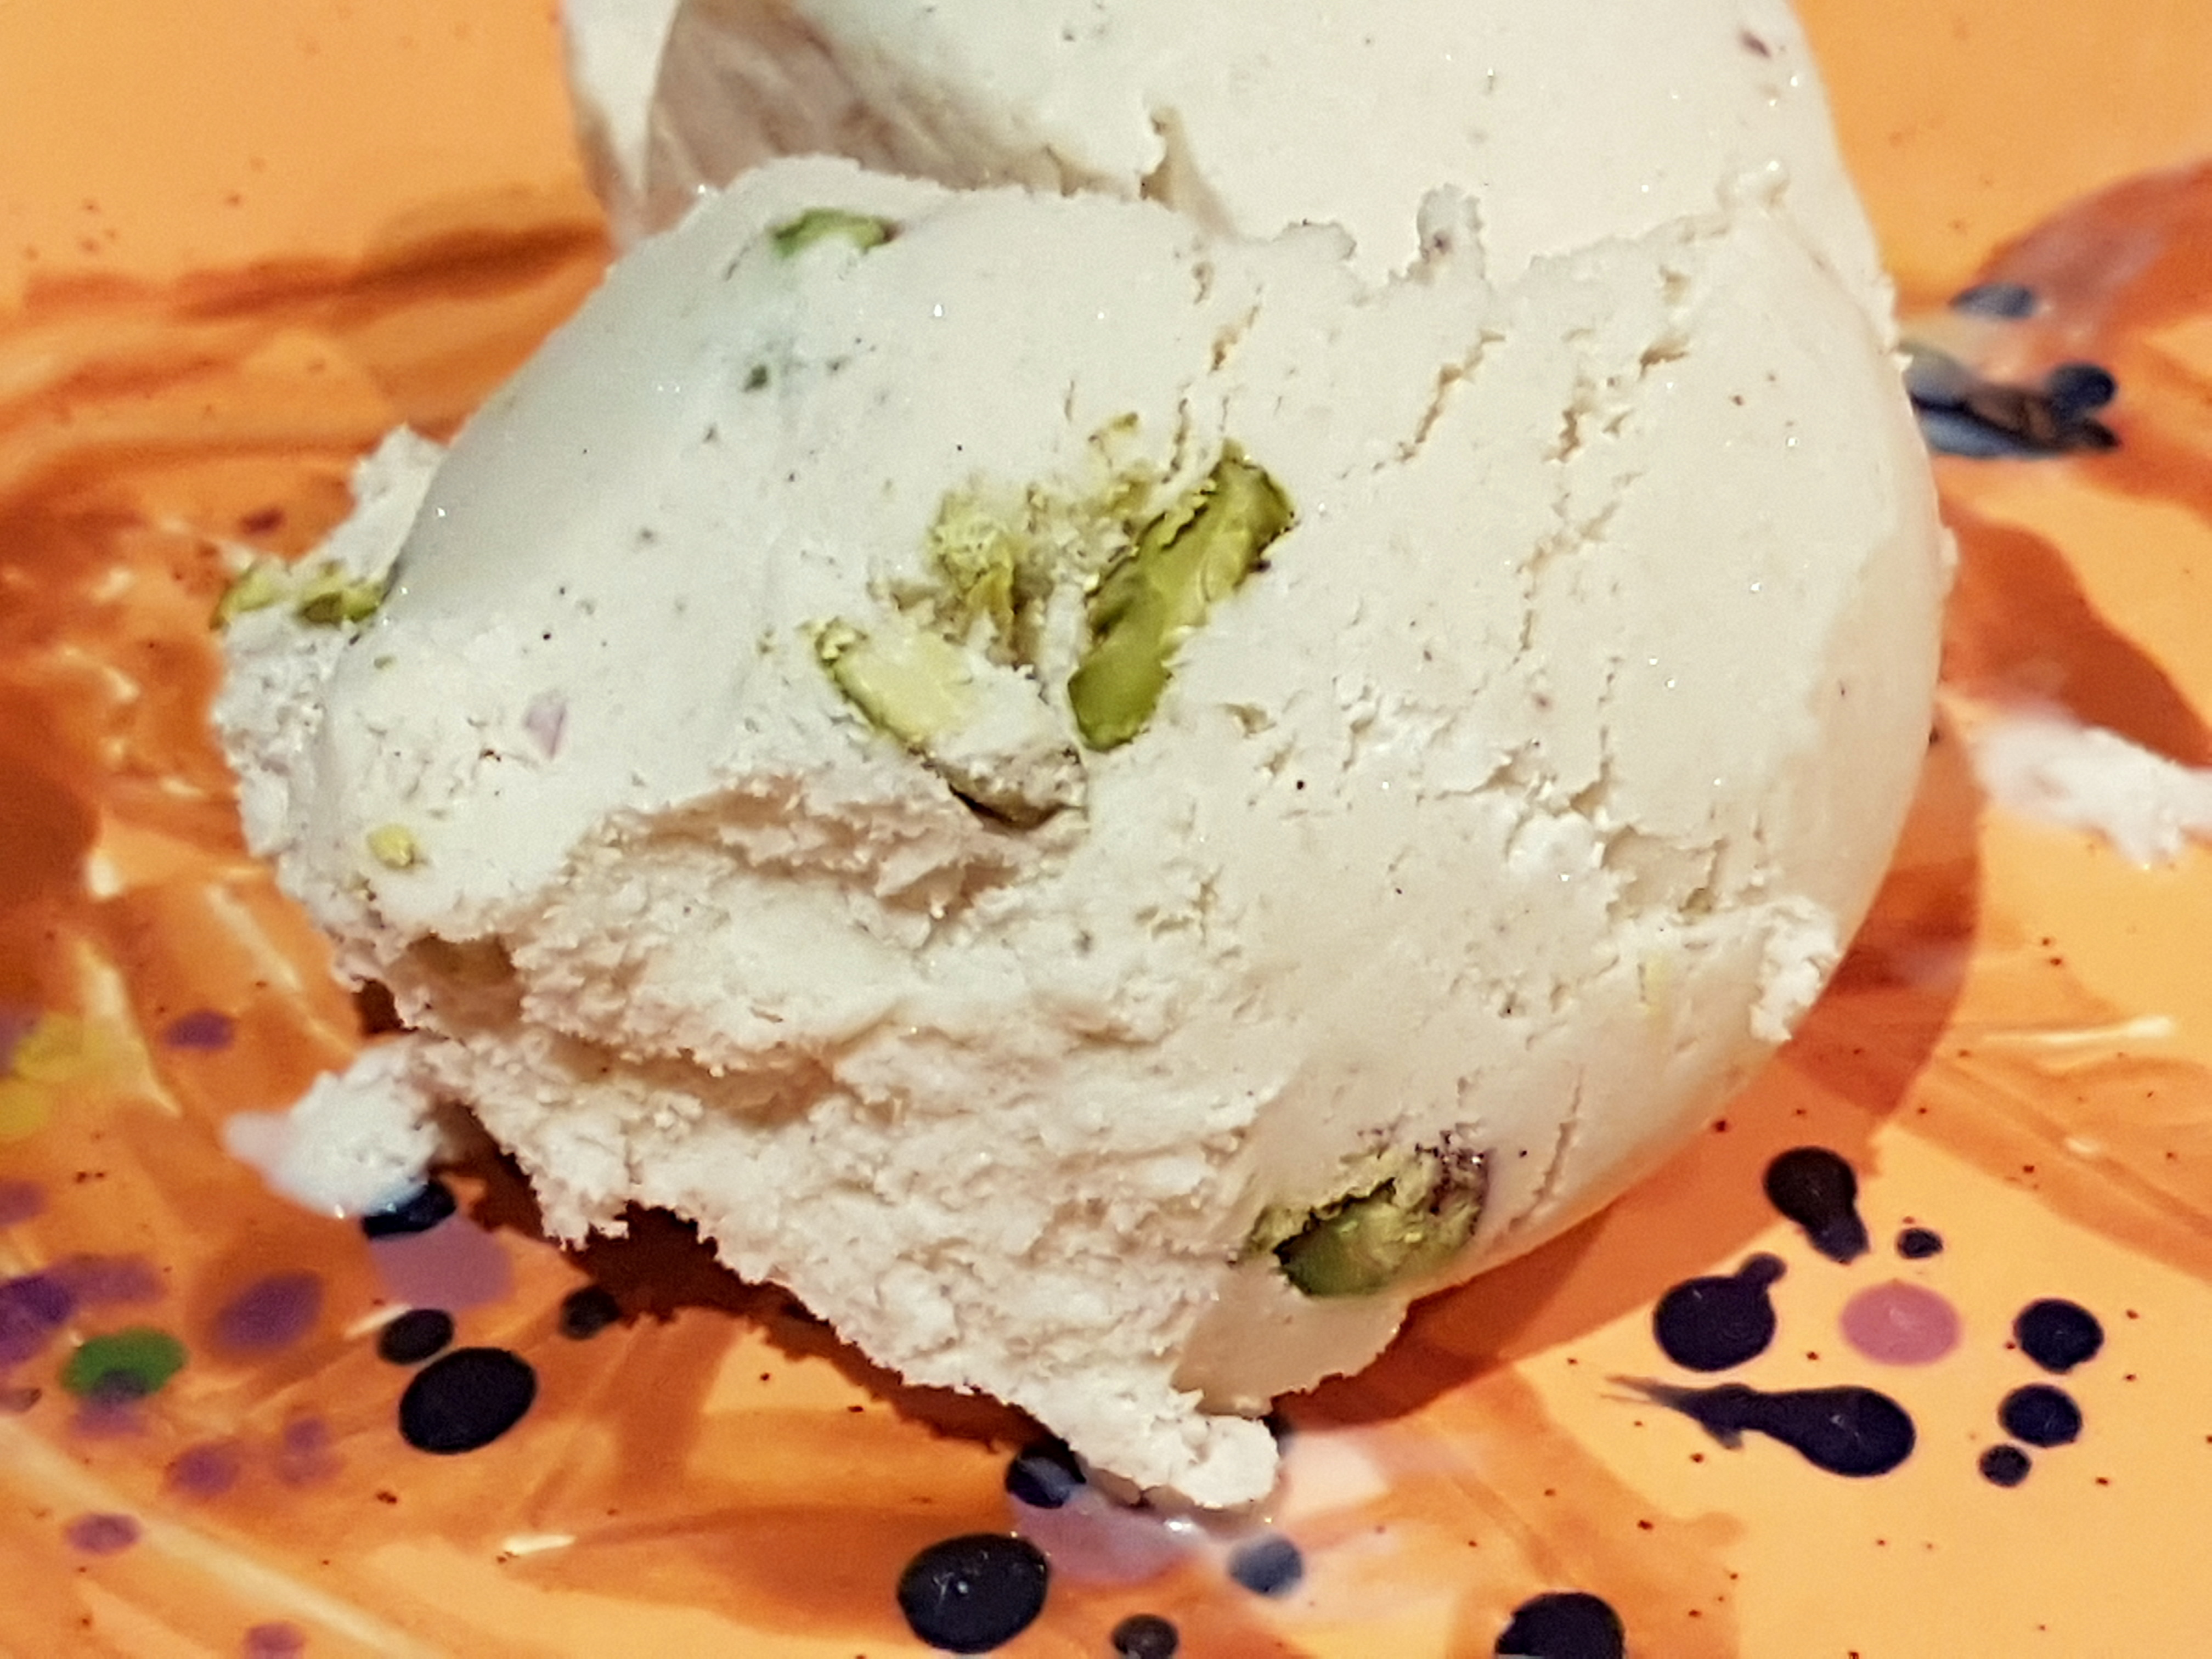
A closer look at our snowy-like coconut ice cream
Step three: Ripple! (or marble …)
Take the finished ice cream, put it in a freezer-safe container and level the surface. Now spread out the raspberry jam evenly on top of the ice cream.
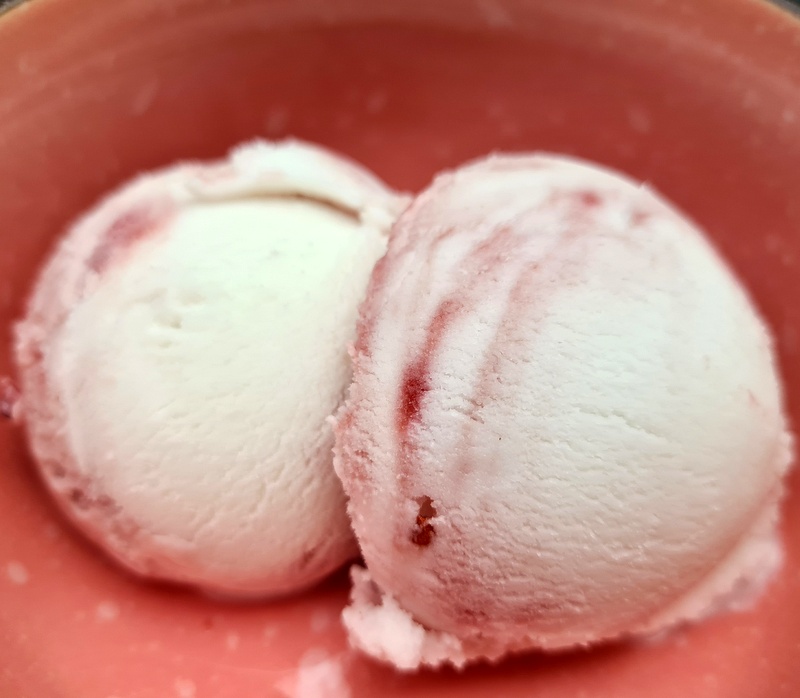
Take a fork, a knife or something similar and start swirling. The more you swirl, the less distinct ripple effect. This may however not be bad – if you mix up the jam a lot with the ice cream, the effect will rather be “marbled” than “rippled” which can be quite beautiful in its own right.
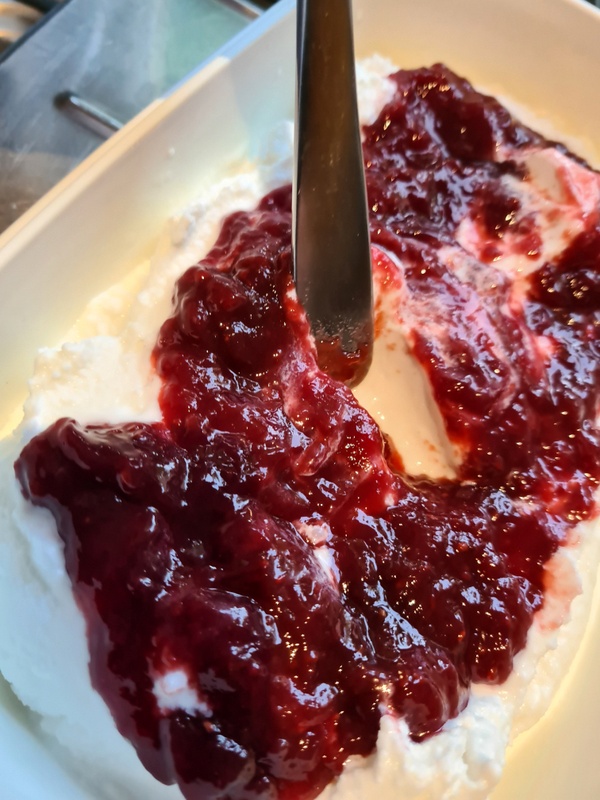
Ripple or marble ? – that is the question.
When the jam has been mixed in to your liking, put a plastic film on top of the ice cream and put it in the freezer to firm up.
Let the ice cream sit in the freezer for at least a few hours and preferably over night.
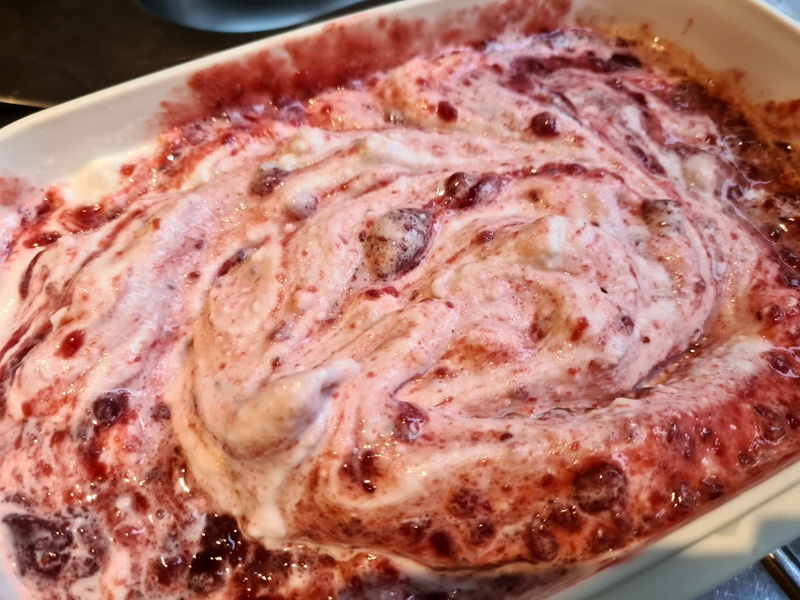
Adding the jam is likely to soften up most newly churned ice creams so it is quite important to let the ice cream firm up in the freezer (unless you love soft-serve textures;-)
Coconut and raspberry: a delicious combination
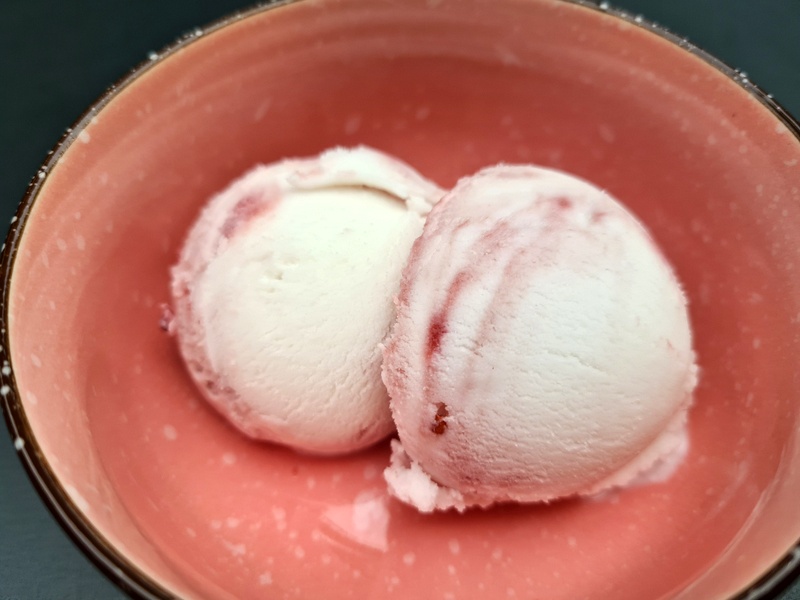
Coconut & Raspberry ice cream
No doubt about it – this is one of the nicer ice cream combinations I’ve come across: a clear case of when 1 + 1 greatly exceeds 2. Again – who knew that coconut and raspberry would be such a happy flavour-marriage?
The fact that the ice cream also is so extremely easy to make only adds to the attraction. And it stores well in the freezer, maintaining a pleasant scopability.
So, what are you waiting for? Get hold of some coconut milk and raspberry jam and create some of that frozen happiness right now!
- 600 ml (about 2½ cups) unsweetened coconut milk (or even better, coconut cream; fat content minimum around 17-18 %)
- 200 ml (about ⅘ cup) sugar (or, optionally, 100 gram birch sugar plus 50 gram sugar)
- (optional) 1-2 tablespoons of inverted sugar (glucose syrup, corn syrup or their likes)
- 130 gram (about a good 100 ml/ 2/5 cup) good-quality raspberry jam (go for high fruit content!)
- pinch of salt
- Optional: some coconut flakes to add to the base (or to the finished ice cream)
- Whisk together the coconut milk/cream with the sugar(s) and the pinch of salt.
- Churn this coconut base in your ice cream machine (or still-freeze in your freezer) until almost done but still a bit soft.
- If using: add the coconut flakes to the ice cream towards the very end of the churning or add it after the churning, mixing them in.
- Put the coconut ice cream in a freezer-safe container, layer the raspberry jam evenly on top and swirl the jam into the ice cream with the help of a fork, a knife or something similar: the more you swirl, the less distinct the ripple effect will be (NOTE: this would eventually create the so-called marbled effect: much more discreet than the typical ripple but still pleasant to the eye).
- Put the swirled/marbled ice cream back into your freezer and let it firm up for at least a couple of hours and preferably over night.
