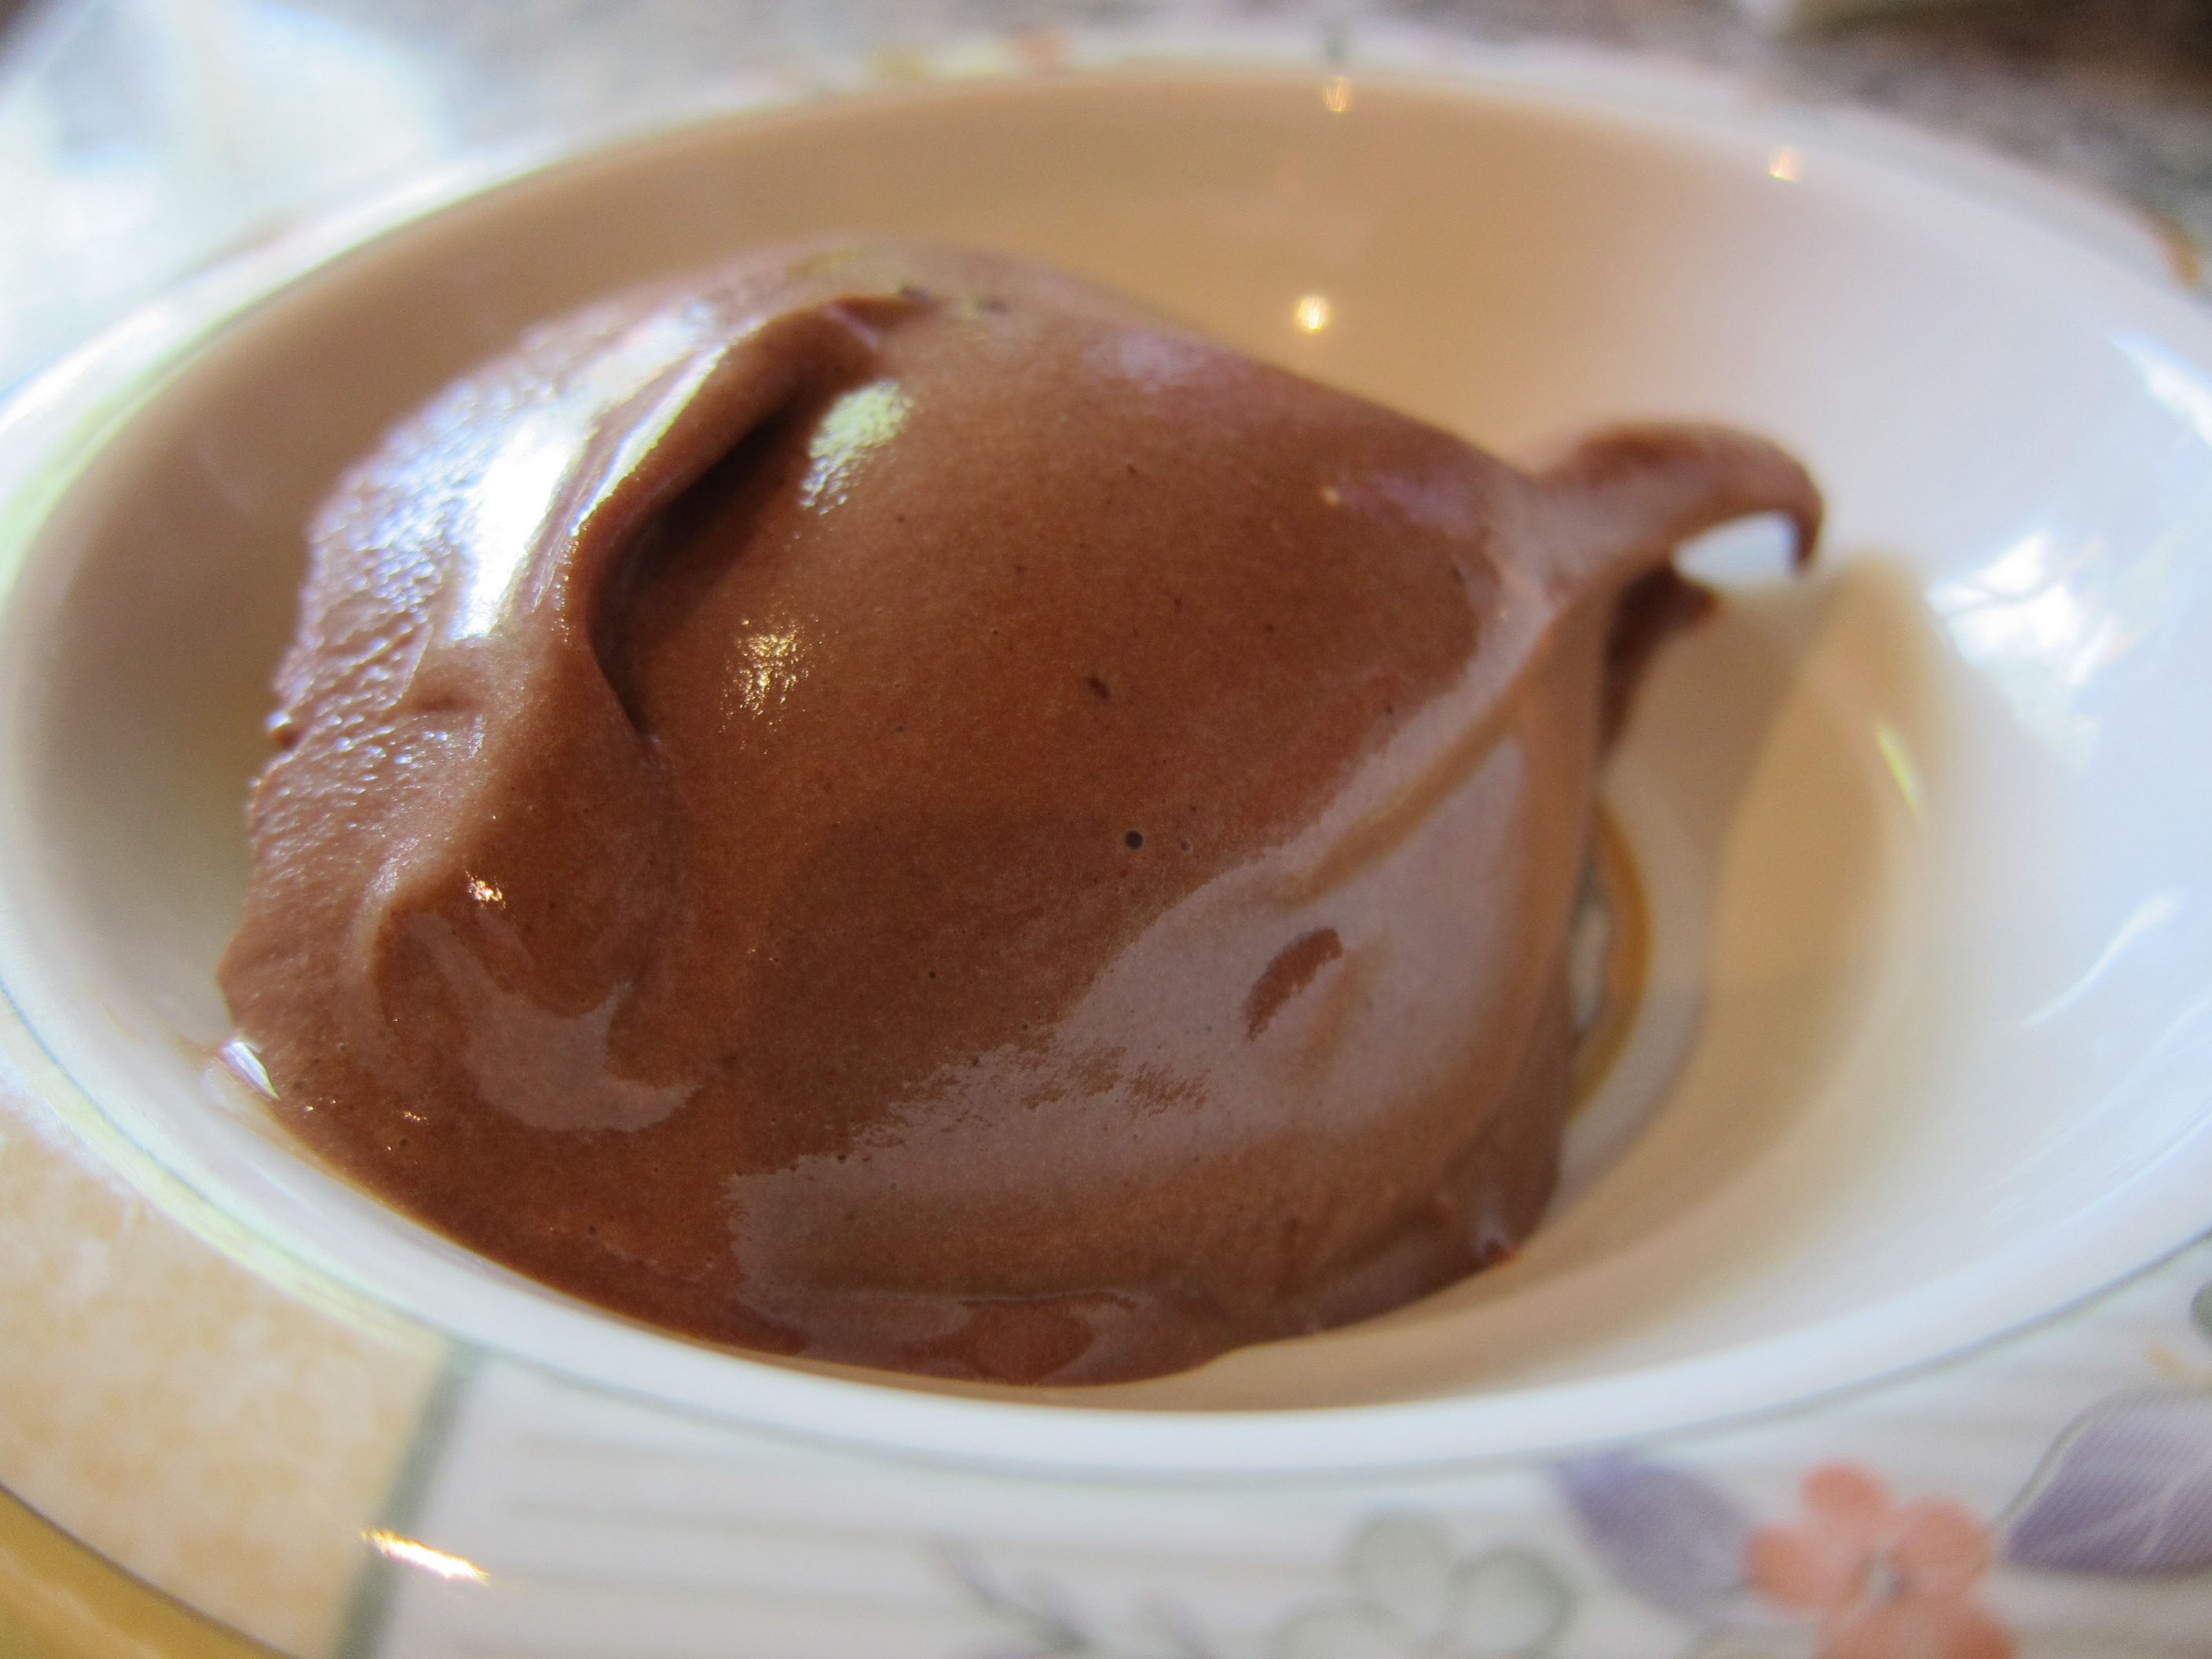
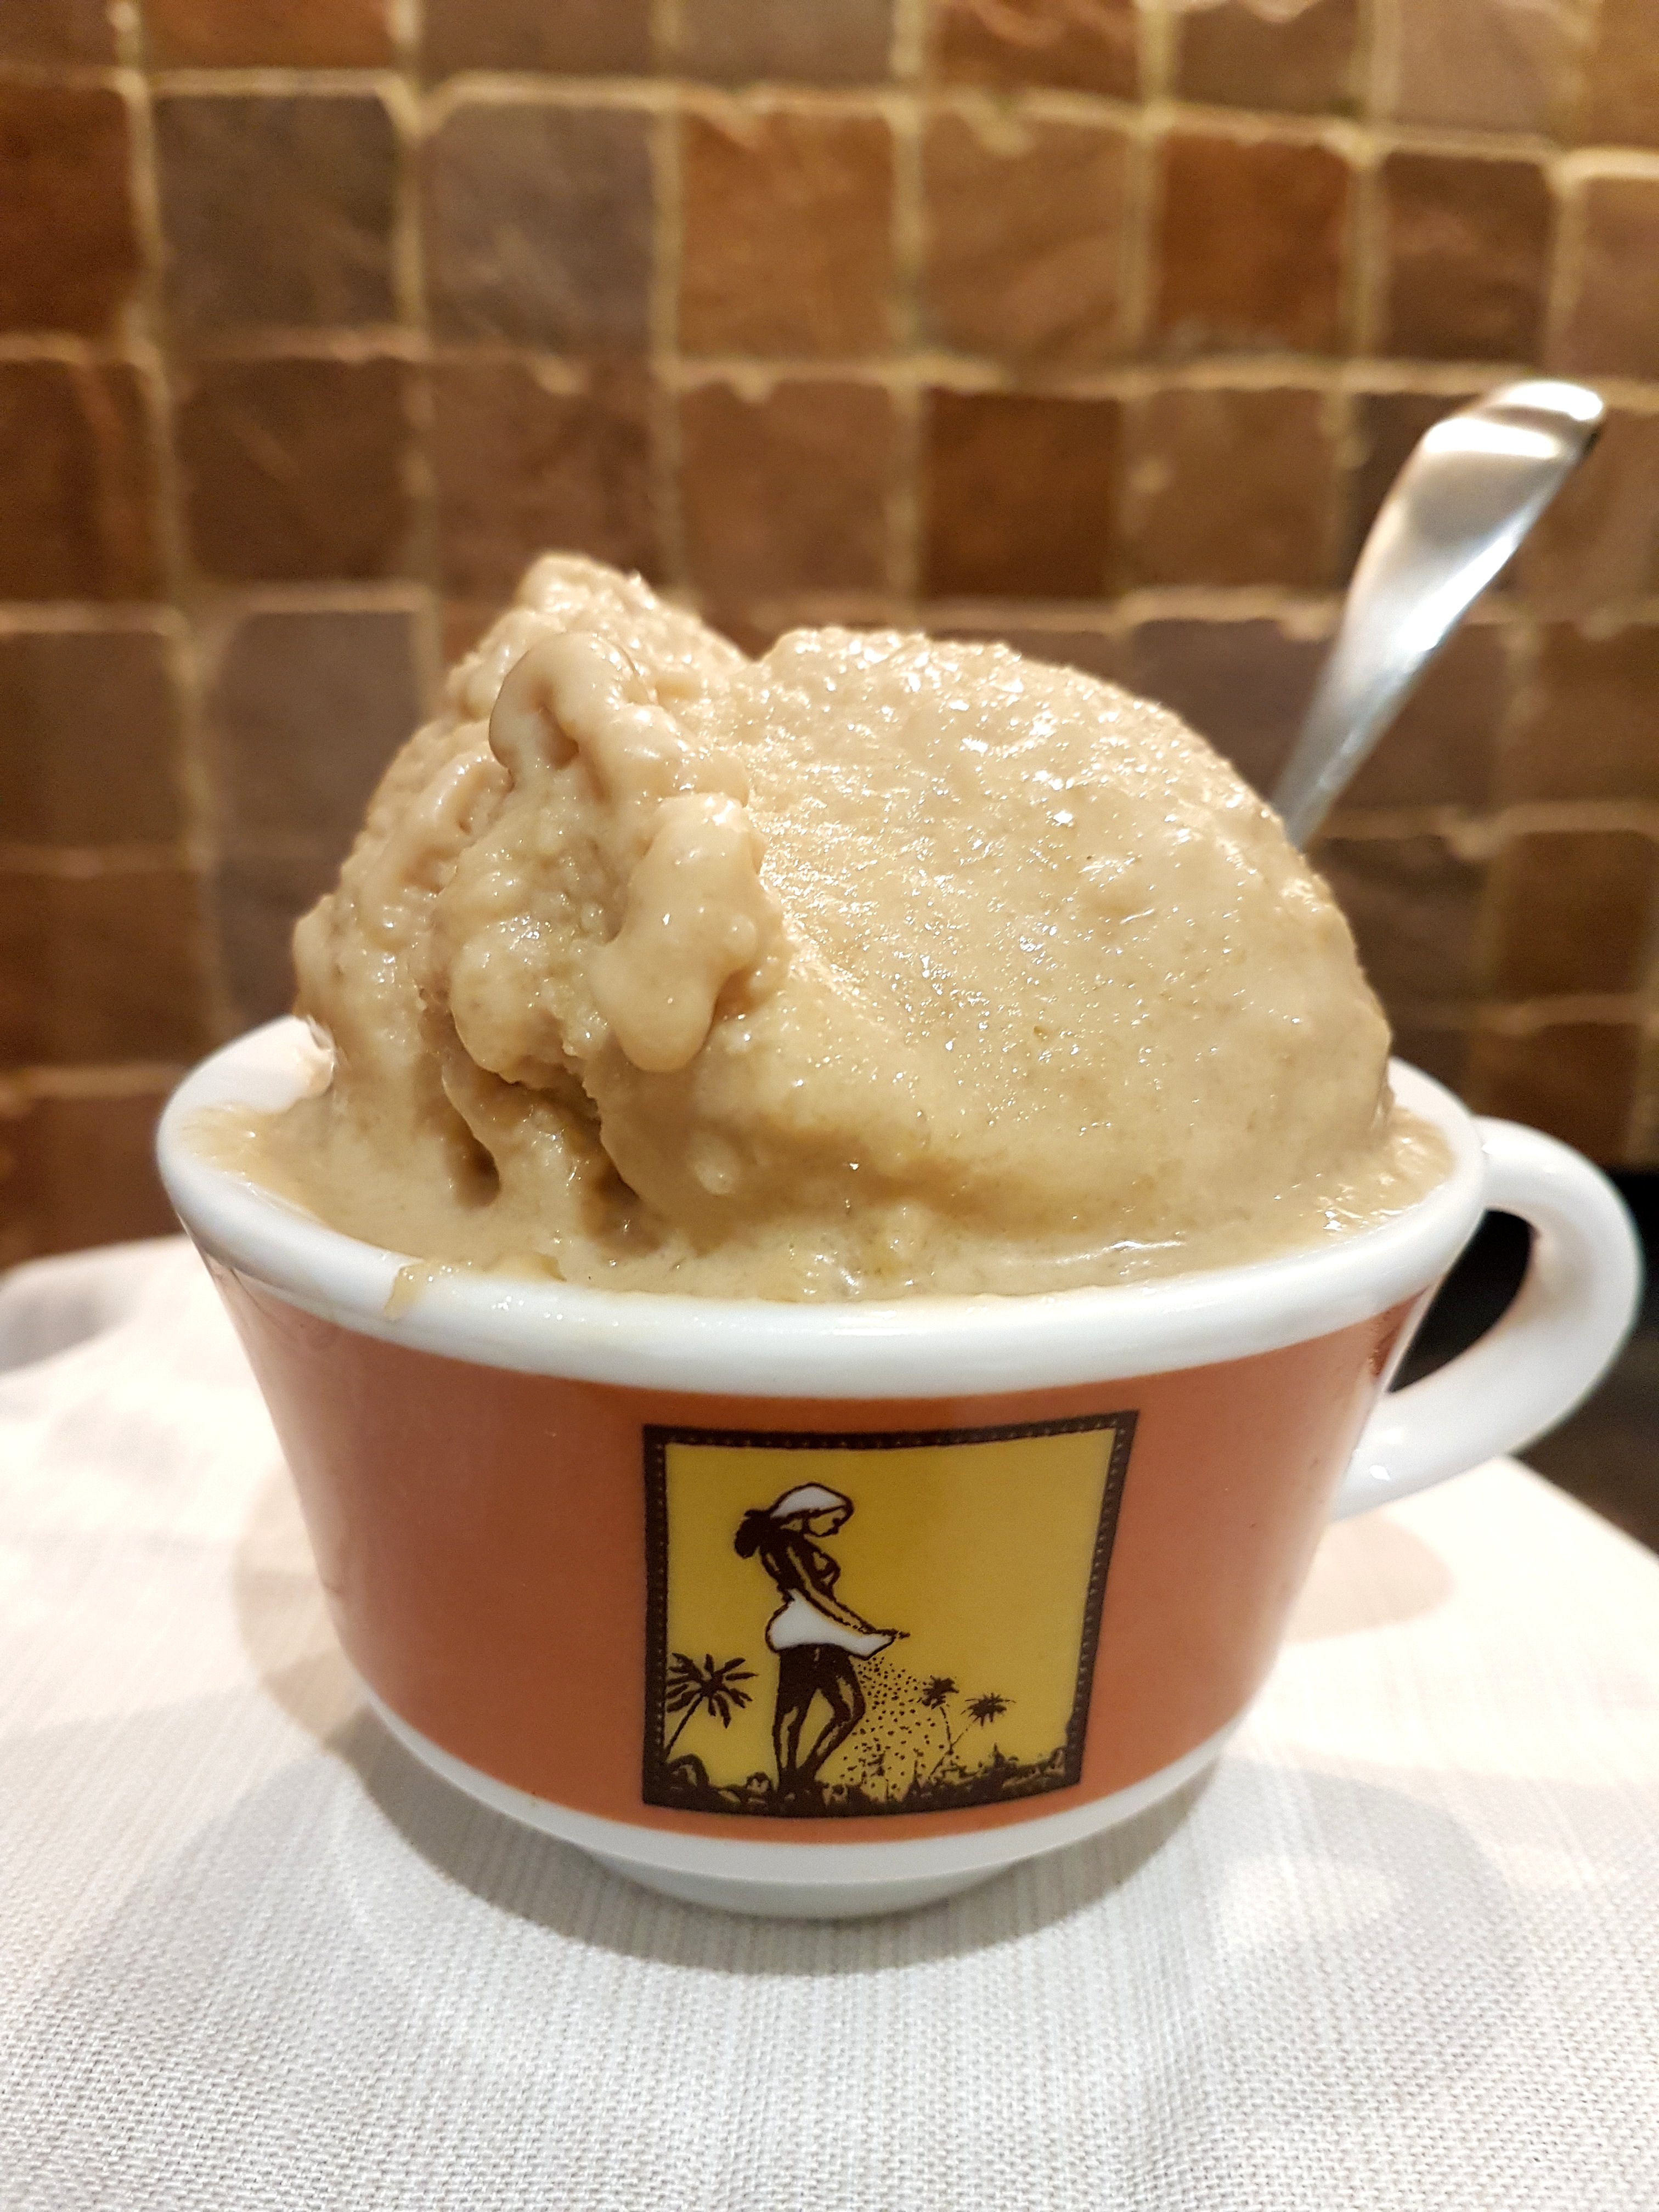
Coffee granita
Coffee too hot and ice cream too heavy? Then go Italian and try Granita – freeze that espresso, grab a fork and churn up a pile of tasty coffee ice crystals! No ice cream machine required: just use your freezer.
Granitas
Granitas, the classic Italian shaved ice, originate from sunny Sicily. My friend Dhana tells me that the granitas traditionally used to be more or less restricted to just a few classic flavours, like coffee, almond, lemon and pistachio. These days, however, granitas are available all over Italy, and come in a whole range of different flavours!
Making granita is very easy, but still typically takes a few hours – time mainly spent waiting for the water to freeze. Regardless of flavour, the basic method of preparation remains the same: mix the flavour-ingredient with water (for this recipe = make coffee), sweeten the mix and freeze it.
During or after the freezing, we will turn our flavoured ice into tasty ice crystals: granita!
How to make the ice crystals? Well, there are a couple of different methods you may try. Here, we’ll use the traditional “stirring while freezing”-method, where we’ll go over the mix with a fork and churn about once every hour during the freezing. Stirring every now and then requires some efforts (and time-keeping) but the resulting crystals will be great!
If you can’t be bothered with keeping track during the freezing, you can simply leave the mix in your freezer and let it freeze (relatively) solid. Then, grab a fork or similar and start shaving off chips from the ice block. Or churn larger pieces of the frozen block in a food processor. While these methods arguably simplifies things as you won’t need to “check in during the freezing”, some still consider that the resulting pieces of shaved ice can’t compete with the crystals formed in the “traditional way”. With an ice cream machine, you could arguably also freeze the granita in a more turbo-like way, although you’d still have to pay attention to get to the final, crystal-like, end result.
I let you be the judge, although I can testify that the traditional method described below resulted in excellent ice crystals!
Coffee granita or Why drink your espresso when you can turn it into ice crystals?
Begin by getting hold of espresso coffee. If you brew it yourself, pay attention so that it won’t end up too strong/too bitter.
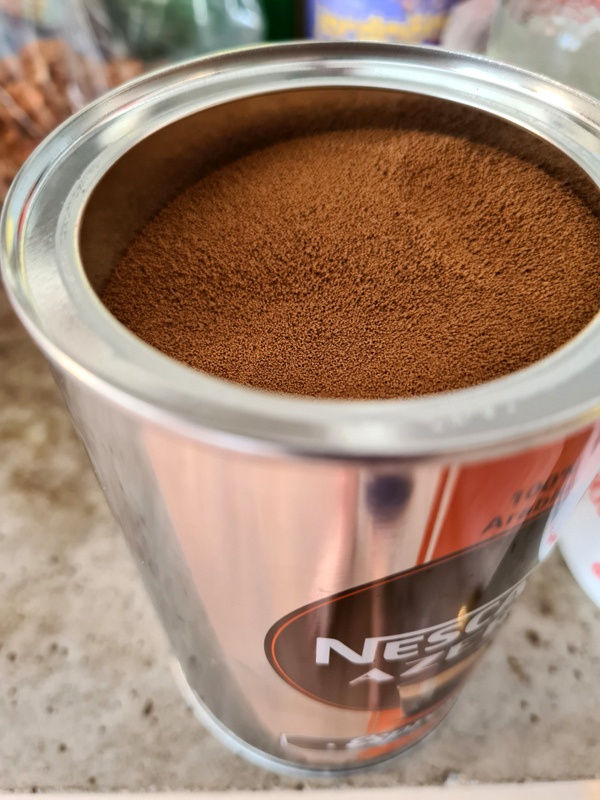
Having no espresso maker available, I simply used some good-quality instant espresso powder and that worked fine!
Sweeten the espresso with sugar – follow your own preferences! As a general rule of thumb, opt for a sweetness slightly above what you’d normally go for – once frozen, the cold will dull the perceived flavours, including the sweetness.
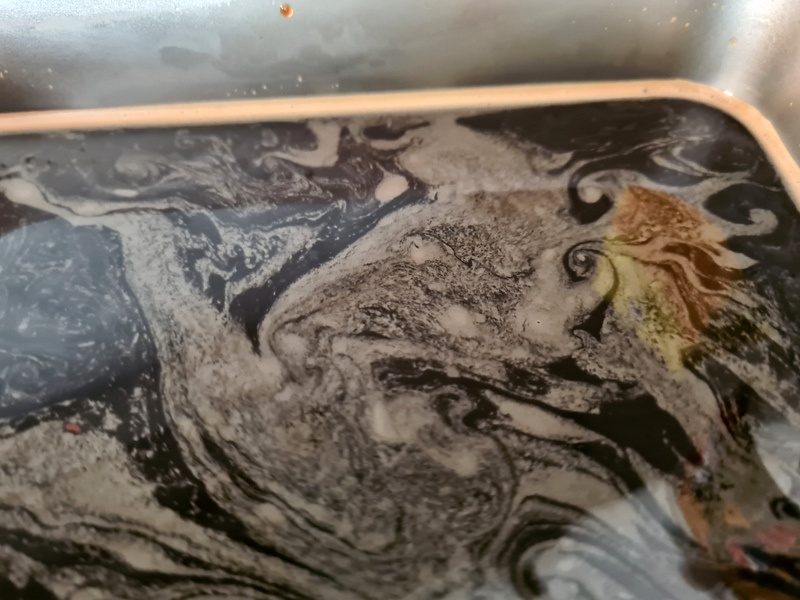
The base: sweetened espresso with a little touch of lemon.
Put the sweetened espresso in a suitable freezer-safe form, lid or similar. For the fastest freezing, opt for a container that allows for a shallow depth of coffee.
Let the mix cool down and chill in the refrigerator for a couple of hours or more [this also to speed up the final freezing], then put the sweetened espresso in your freezer.
Wait about 45 minutes or so, then take out the espresso mix and quickly churn the mix with a fork. At first, there will only be very limited frozen or semi-frozen parts around the edges. Just churn those, return the form to the freezer and repeat about once every hour.
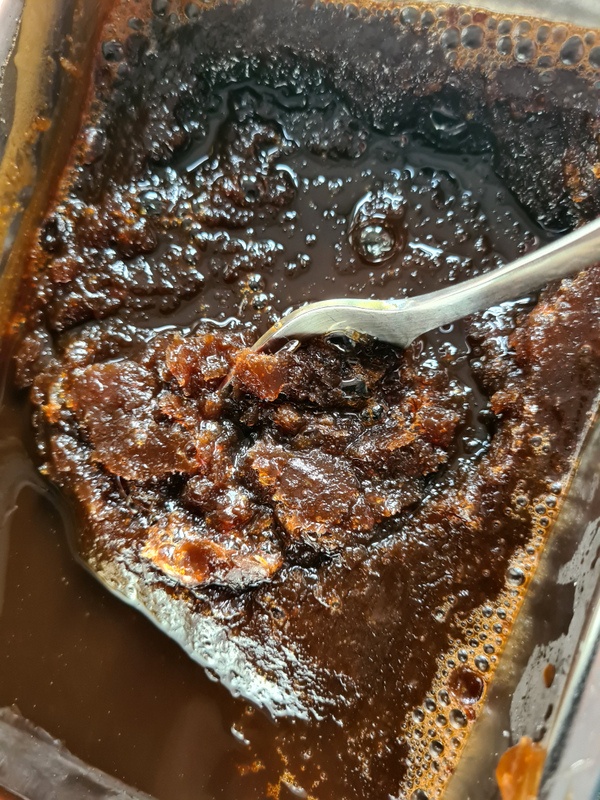
As time goes by, the amount of frozen espresso will increase. Continue working the mix over with the fork, making sure that any larger ice formations are broken down.
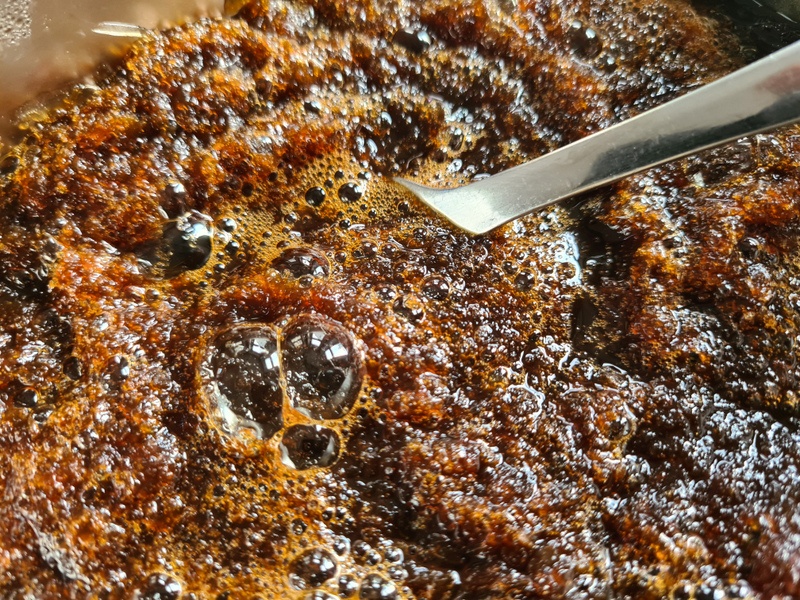
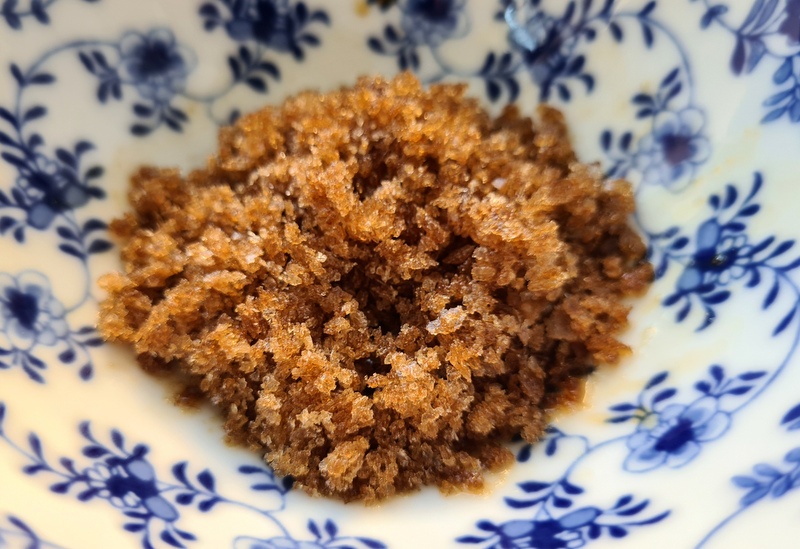
Eventually, you will reach the goal: a tasty heap of (roughly) rice grain-sized coffee ice crystals. In other words: granita!
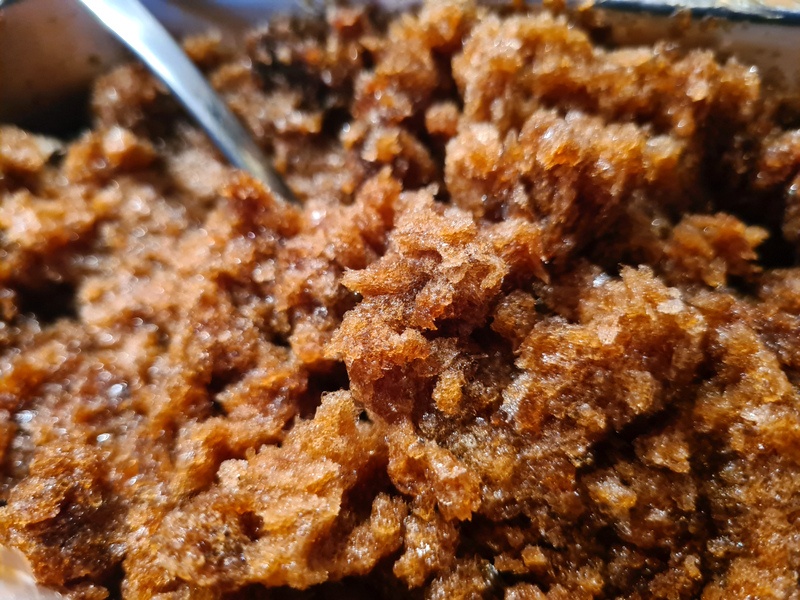
After a few hours of waiting and occasional churning: granita!
Tasty refreshment for hot summer days
Granitas are clearly neither like ice creams, nor like sorbets: they are simply tasty stacks of flavoured ice crystals. With emphasis on “tasty”. And granitas remain popular for several reasons – the coffee fiends will enjoy this refreshing and chilled way of enjoying espresso, and those of us worrying about summer calories adding up will appreciate that granitas make for rather slim treats.
So, start freezing that espresso and get the fork ready: the next granita could be yours 😉
- About 500 ml (2 2/5 cups) freshly brewed espresso coffee
- About 50 ml (1/5 cup or about 4 tablespoons) - or more, according to preferred sweetness
- About ½ tbsp lemon juice
- Optional add-ons: whipped cream, fresh fruit, suitable alcohol (brandy, liqueur ...)
- Brew the coffee (or get hold of ready-made espresso). Make sure not to brew it too strong/bitter.
- Pour it into a freezer-safe container/form, where the coffee ideally should be spread quite flat (a small depth will make for a faster freezing).
- Stir in the sugar, add the lemon juice and leave to cool down, then chill in your refrigerator for a couple of hours or so. Check the sweetness and add some more if you deem it appropriate - since the freezing that awaits will dull the flavour, the sweetness should ideally be a bit too sweet for your liking at this stage.
- Put the container/form in the freezer. Check on the mixture after about 1 hour. As the coffee begins to freeze around the edges of the form, stir it all with a fork and return to the freezer.
- Continue to check and churn about once every hour until the now-frozen coffee has been transformed into a pleasant heap of ice crystals (the crystals about the size of rice corns).
- Serve and enjoy, possibly adding some (very optional) whipped cream, fresh fruit and/or suitable alcohol you like and have at hand.
