Ice cream sous vide (with Barbados Custard ice cream!)
Sous vide cooking – also for ice cream!
You may already know what sous vide cooking is: In a nutshell, this “cooking under vacuum”-method is about cooking things in plastic bags immersed in water baths kept at carefully controlled temperatures.
When you normally cook something in water on your stove, you would eventually typically end up with boiling, or near-boiling, water. But with the help of a so-called immersion circulator it is a piece of cake to set a specific (non-boiling) temperature and maintain it … for hours and hours and hours if you like!
What’s the benefit then? As many fans point out, sous vide cooking guarantees that your various food stuff always gets cooked to their optimal temperatures – no more risks of ever overcooking anything! And since the food never gets warmer than what it optimally should be, there is no need to anxiously check if your food is ready: you can usually return to fish up your optimally heated food from the water pretty much at your own leisure.
So what’s in it for an ice cream maker? The obvious answer is that sous vide offers a very convenient and effortless way of preparing particularly custard ice cream bases: no more need to stir and constantly check the temperature, worrying about over- or under-cooking the base. Instead of anxiously stirring and watching on your base you can safely leave the mix to basically cook on its own … and return at your leisure to an ice cream base now cooked to perfection.
All we need to do is to attach our immersion circulator to a large pot of water, set our desired temperature and preferred cooking time and let it heat up. While the water heats up, we’ll mix the ice cream base ingredients, pour the mix in a suitable plastic bag and put into the pot of water. Leave, let the fixed temperature-heating do its thing and come back later: your base is ready … and should be perfectly cooked.
Sounds too good to be true? Well, it turns out that it actually works!
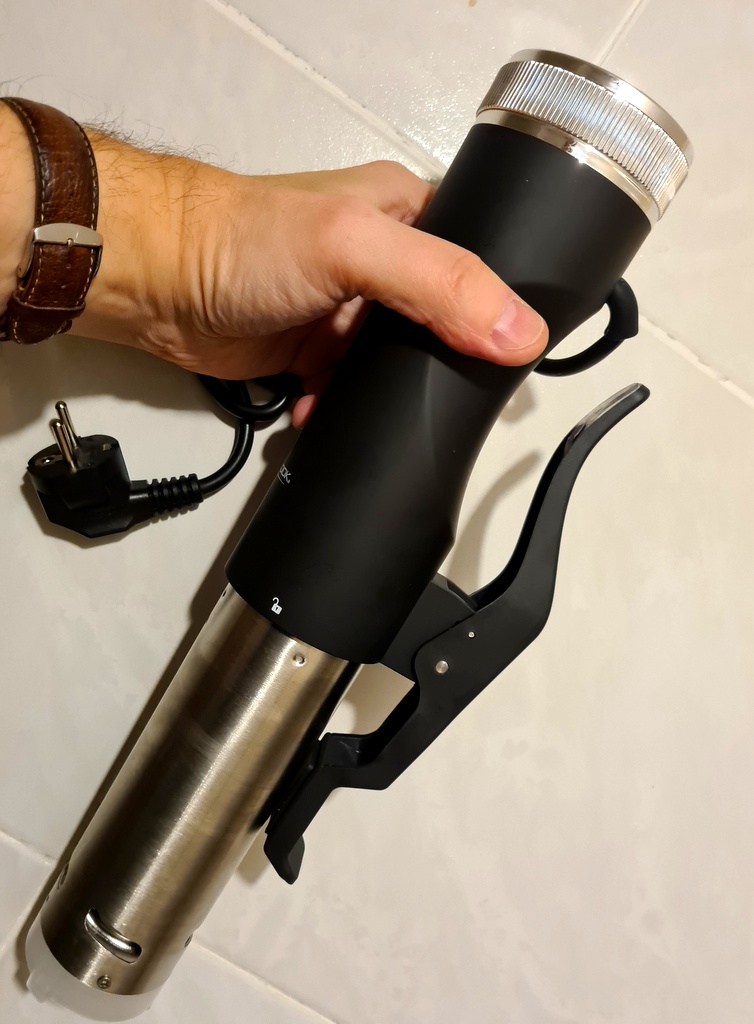
While plastic bags and an immersion circulator would seem pretty indispensable for sous vide cooking, you might also find it convenient to buy a vacuum sealer to go with them. But you can also skip the vacuum sealer and just do with a zip bag and a bowl of water to help you get rid of air.
On optimal ice cream base temperature to rule them all?
As most of us have been taught, custard ice cream bases should normally be cooked to the so-called Nappe stage, which translates to somewhere in the 82-84º C /180-183ºF-bracket. This is partly to enable the eggs’ stabilising qualities to shine, and partly to ensure that the mix is being properly pasteurised and safe to eat.
However, pasteurisation can also be assured at lower temperatures provided that the base can be kept there for a sufficiently long time. And according to some sources (including the legendary Heston Blumenthal), eggs’ stabilising powers are fully at play already at 77° Celsius /170,6° F, possibly making this the optimal temperature for a custard ice cream base (mind you: I’ve also read recipes where Heston proposes 70° Celsius / 158° F as an ideal temperature. If you want to try that, ensure that you keep the base heated for at least 30 minutes).
Now, that temperature is normally a bit too low to ensure pasteurisation and on a normal stove we would not be able to keep it there for more than a few moments (after which the base eventually would continue to heat up further). But cooking sous vide, we can easily maintain a specific temperature for an hour or even longer, putting us back on the safe and healthy side!
Our test base: Barbados Custard vanilla ice cream
While this site already contain a number of different vanilla ice cream recipes, there is always room for one more! This time, we’ll test an interesting recipe (slightly sous-vide adapted) by renowned ice cream maker Kitty Travers (also author of La Grotta Ices): her sumptuous signature vanilla Barbardos Custard: a very pleasant ice cream with an exciting flavour touch of dark rhum and unrefined dark sugar.
While all ingredients are destined to be mixed together and end up in a plastic bag, you can combine them in pretty much whatever way you like. Myself, I like to mix the dry ingredients first and then add the dairy and the eggs.
Since there won’t be any evaporation of liquid when cooking in a bag, you might possibly wish to consider adding a couple of – very optional – tablespoons’ of skimmed milk powder in order to boost the overall consistency somewhat. It may also be worth noting that none of the (small amount of) alcohol will evaporate during the sous vide cooking process either;-)
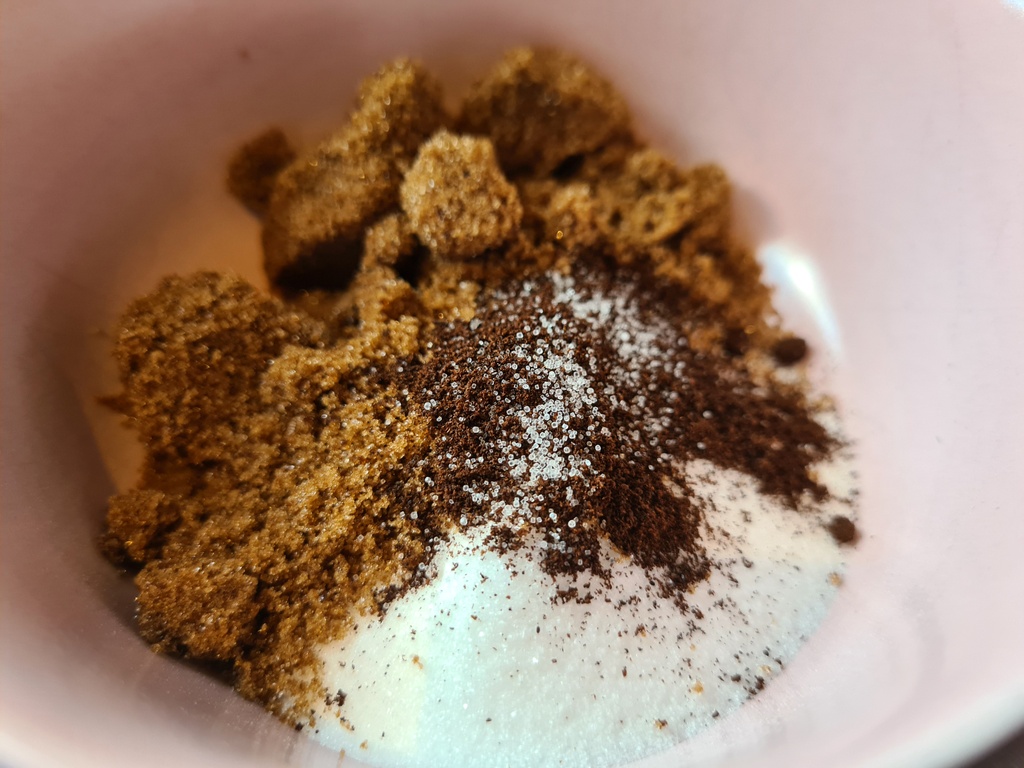
All the dry ingredients – the sugars, the vanilla powder and a touch of salt (not really visible but it is there)
This is a true custard base, so now we will be adding the cream, the milk, the crème fraiche and 6 egg yolks to the dry ingredients.
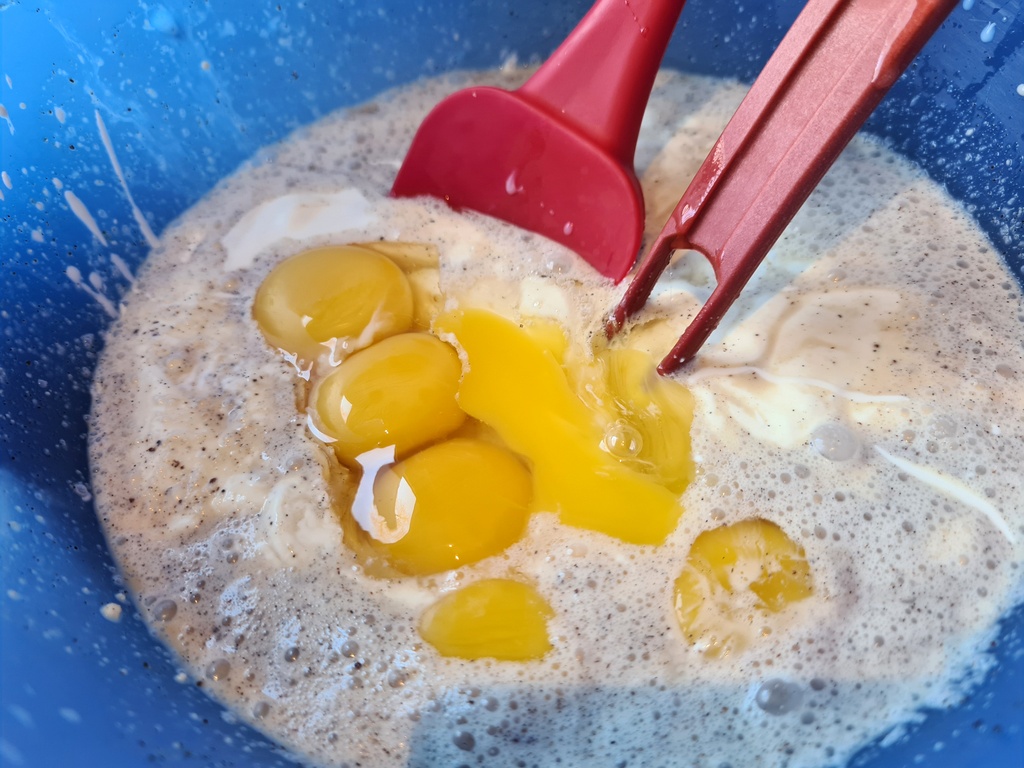
As if the unrefined sugar wasn’t enough, we’ll also add a tablespoon of dark rhum for the West Indian touch.
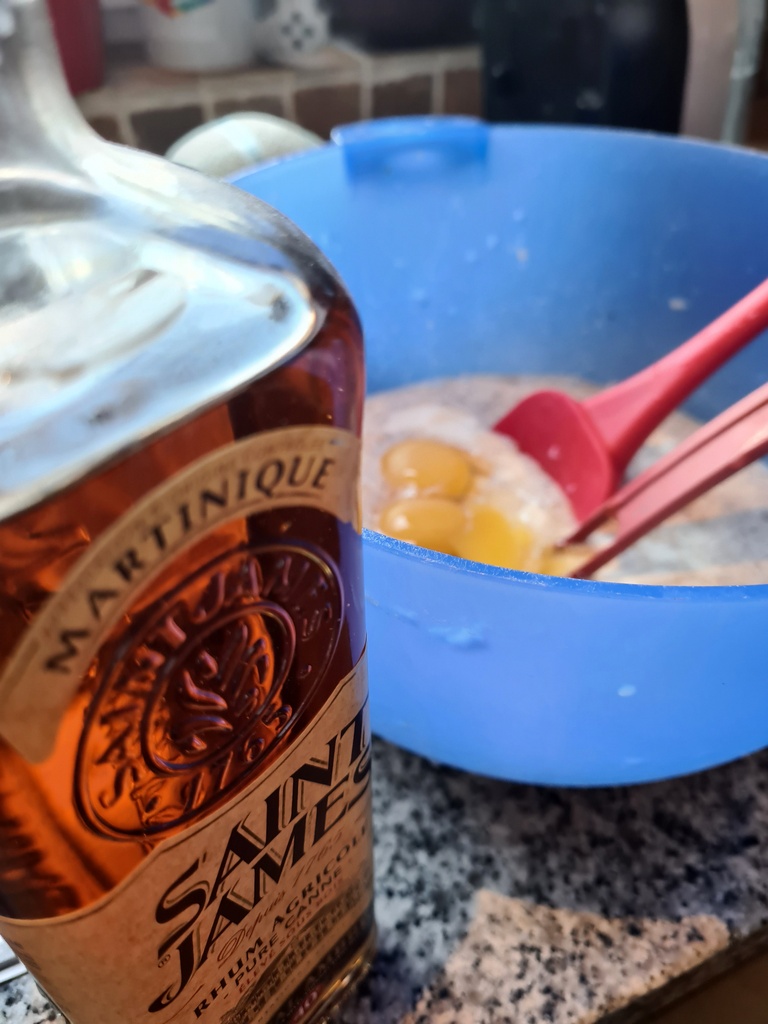
The dark rhum I used was from Martinique … not quite Barbados, but still in the West Indies 😉
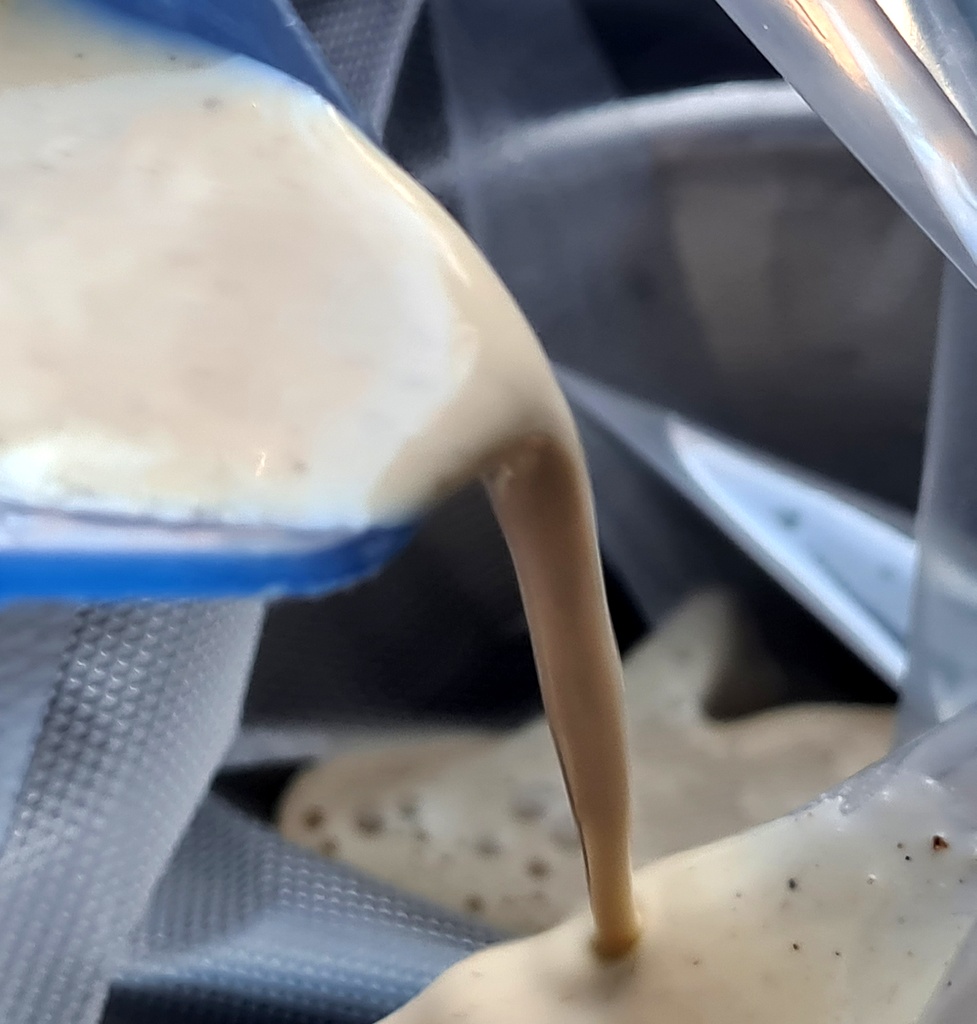
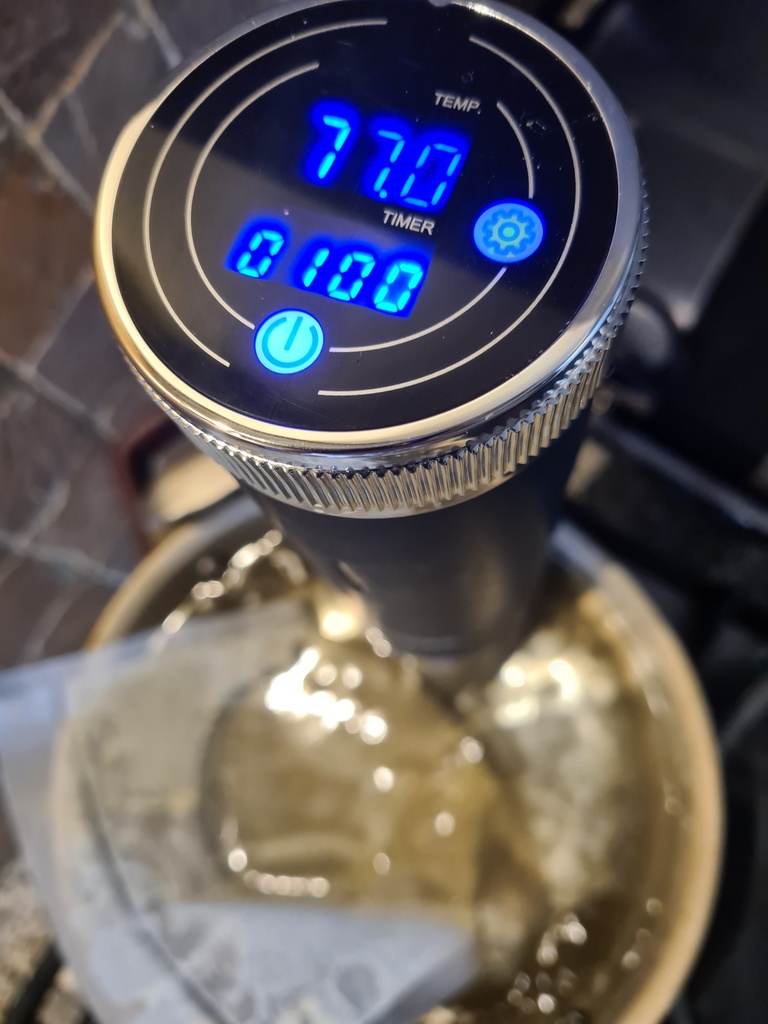
The immersion circulator has heated the water to desired temperature and the bag is in the water. Start the process and do something else for an hour or so 😉
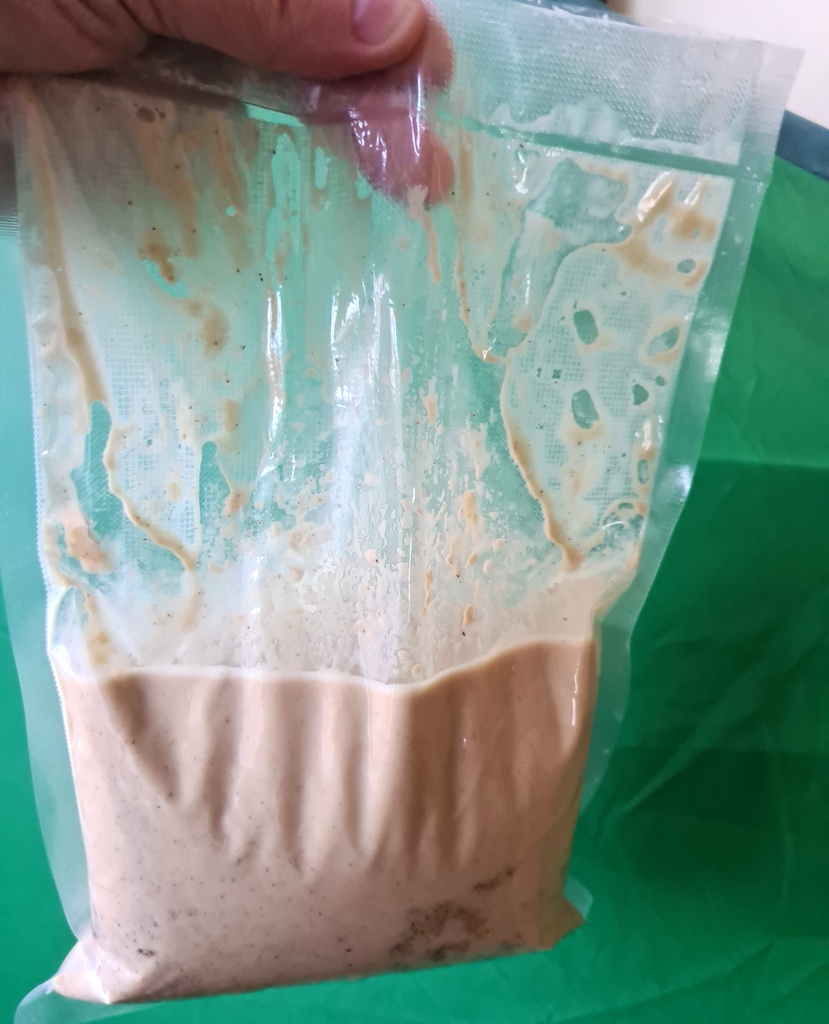
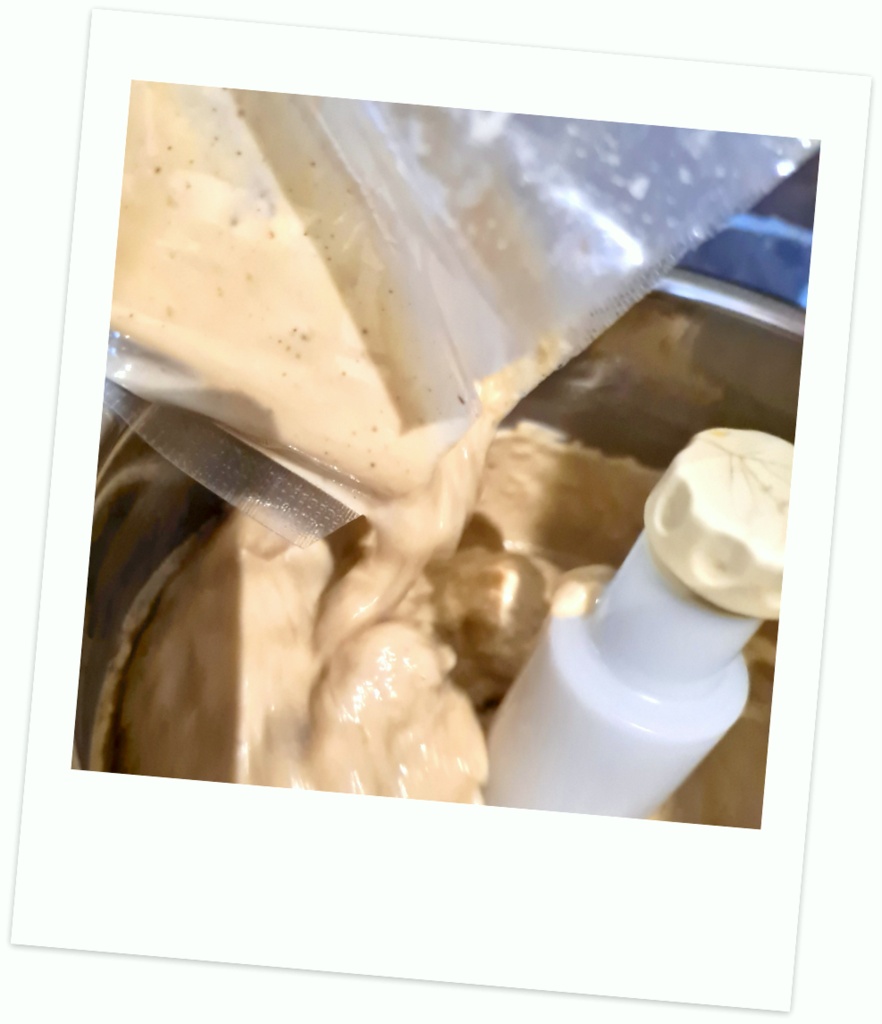
It may look a bit lumpy and you may wish to pre-shake the bag a little to avoid that all the specks of vanilla stay at the bottom, the churning should typically do all the necessary whisking.
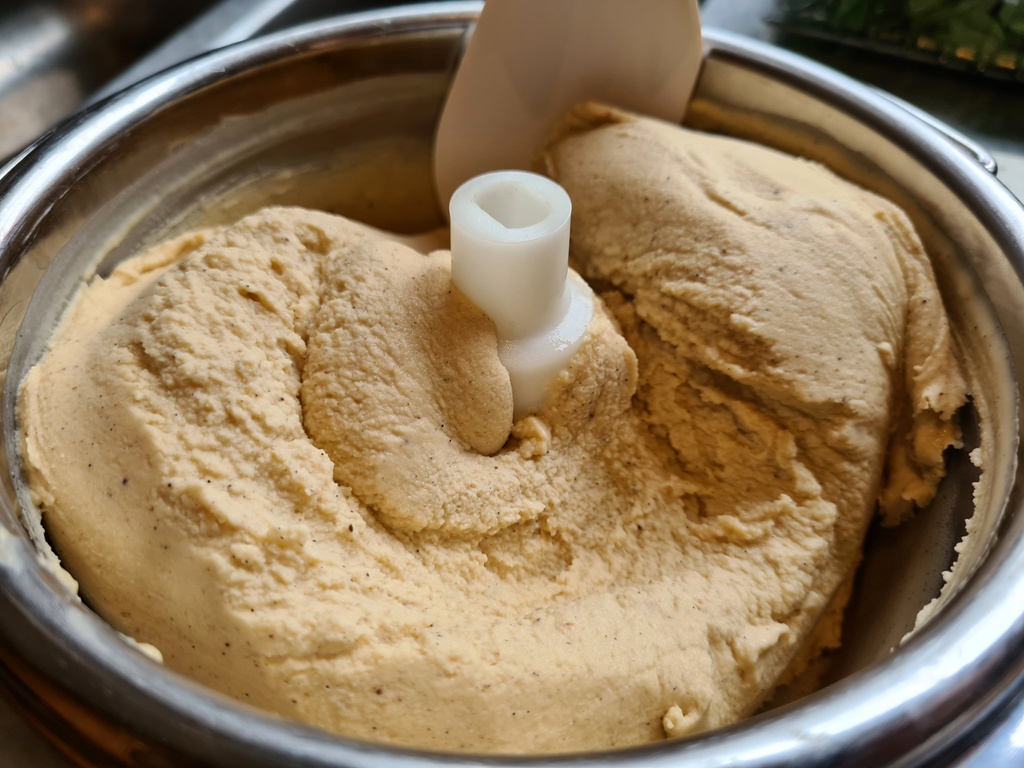
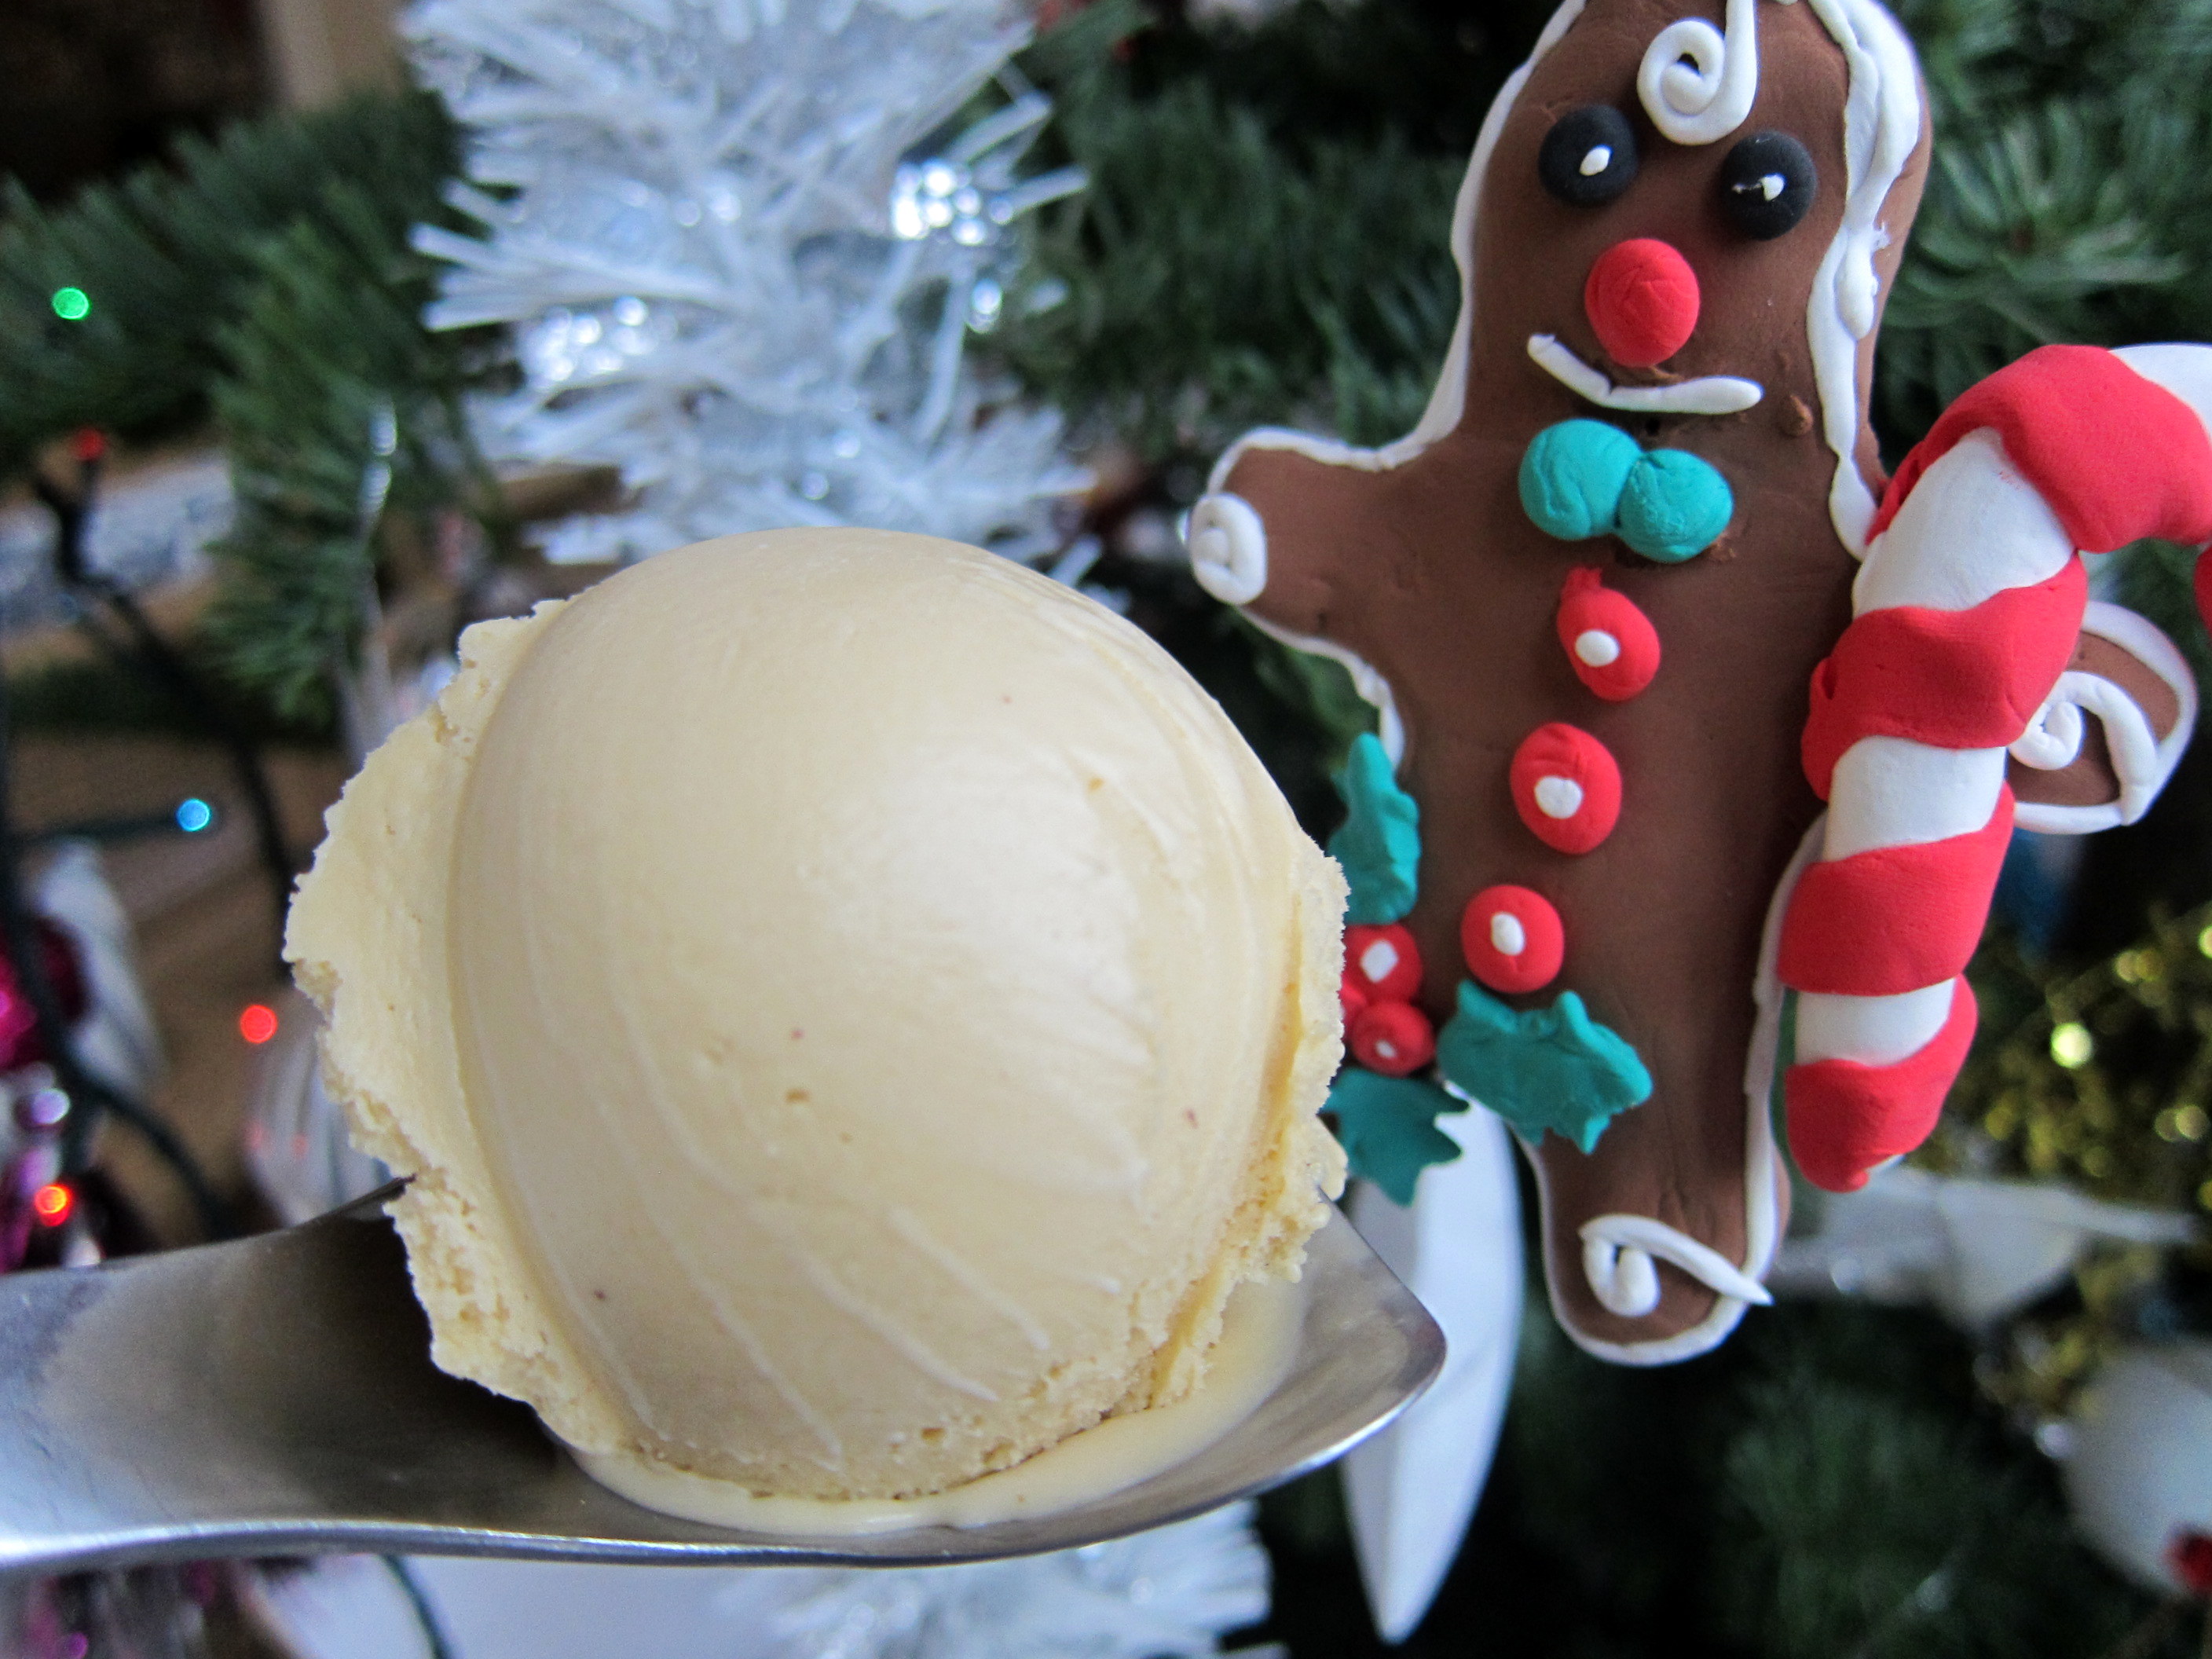
Freshly churned Barbados Custard Vanilla!
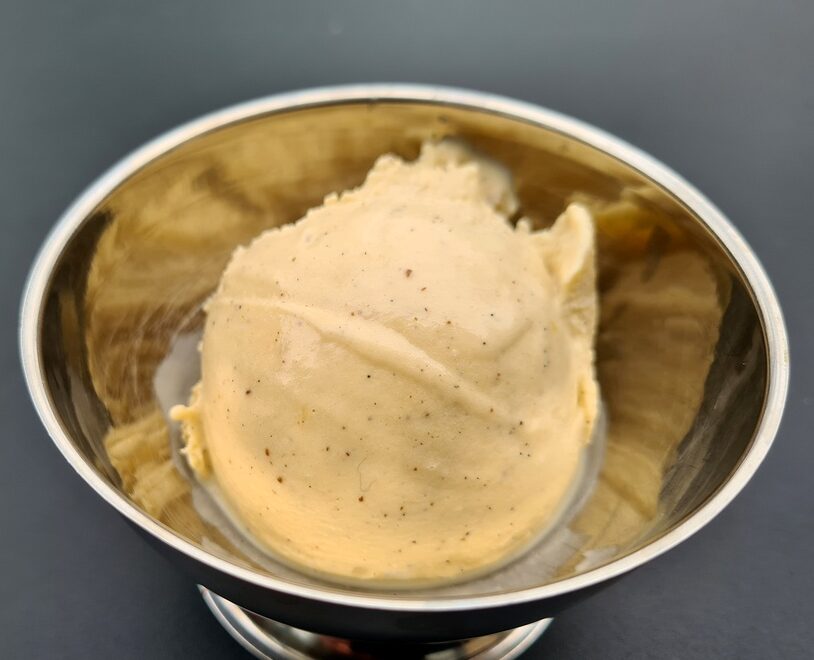
The conclusion: Optimally cooked custard base and delicious vanilla ice cream!
- A sous-vide cooker, for example of immersion circulation type
- A large enough zip-bag / plastic bag
- (recommended but optional: vacuum sealer)
- 1 teaspoon good quality vanilla powder (or one vanilla bean)
- 200 ml (about ⅘ cup) whole milk
- 200 ml (about ⅘ cup) cream
- 60 gram (about 70 ml or ¼ cup) sugar
- 50 gram (about 50 ml or about ¼ cup) brown sugar or light muscovado sugar
- 200 gram (about 200 ml / ⅘ cup) cream fraiche
- 6 egg yolks
- 1-2 tablespoons (dark) rhum
- pinch of salt
- optional: 1-2 tablespoons skimmed milk powder
- Mix the milk and the cream well with the sugars, then add all the other ingredients.
- Whisk and transfer the base to a vacuum-bag of your choice.
- Vacuum and seal the bag.
- Program your sous-vide machine for a time of (at least) 30 minutes (and to really be on a very safe side,1 hour) on 77° C / 170,6 F and use it to preheat the water in a suitable pot.
- When the water in the pot has reached the desired temperature (and with the immersion circulator in place), put in the sealed plastic bag with your ice cream base, start the process and wait for an hour or so 🙂
- When the program is over, your base should be perfect, pasteurised and ready for churning once cooled down.
- Let the base cool down and preferably chill for a few hours or overnight.
- Churn in your ice cream maker or still-freeze using your household freezer.
In case you decide to use a vanilla bean instead of vanilla powder, you need to remember to remove the stalk from the base before the churning 😉
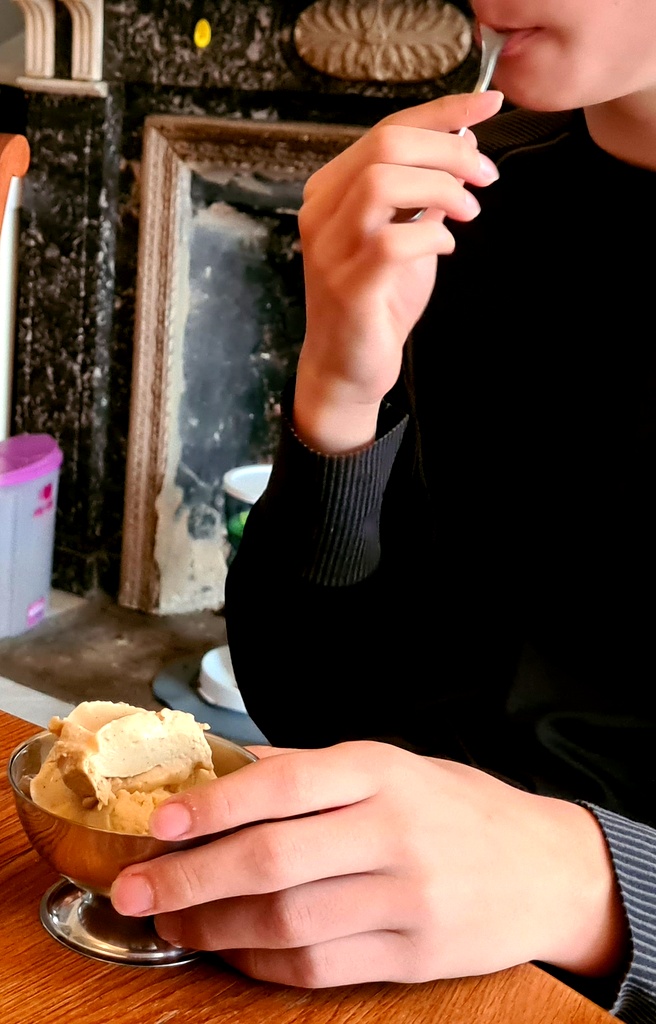
The Barbados Custard was highly appreciated by everyone who helped me consume the whole batch in what might have been a record-short time 🙂
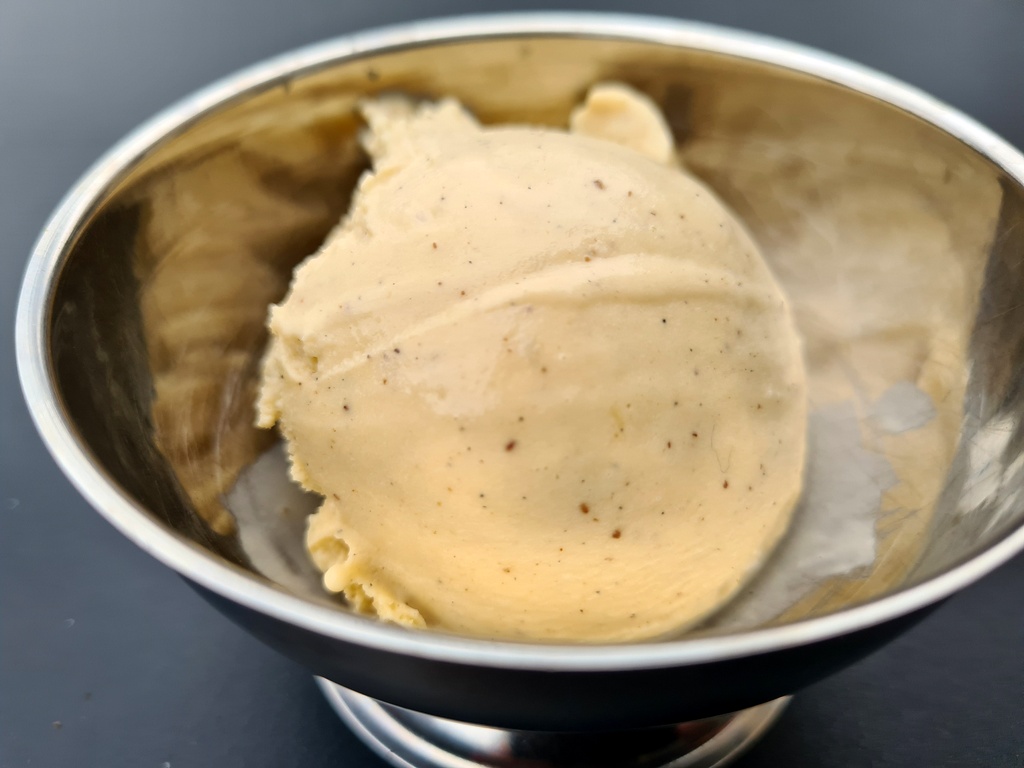


Very nice one