Chocolate Hazelnut ice cream
The other day, I was suddenly overwhelmed by strong cravings for chocolate and hazelnuts. Most of you may be familiar with such feelings; sentiments we likely shared with industrious ancestors from the Stone Age (for the nuts) and the ancient Mayans (for the chocolate).
Nuts are sometimes referred to as healthy ‘Stone Age food’. I always imagined some lone Stone Age types walking around looking for nuts in a rather haphazard way. Little did I know that as early as about 7000 BC, in Mesolithic times, hazelnuts appears to have been large-scale processed by humankind [if the link no longer works, the reference is to an article in British Archaeology, no 5 June 1995. A similar source to consider is here]. Clearly, the abilities of Stone Age people should not be underestimated!
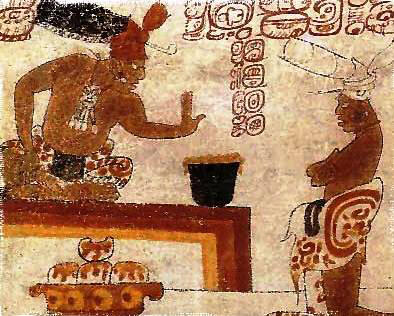
In that context, chocolate processing turns out to be a real junior. Cacao beans seem to have been harvested as early as around 1400 BC or so, but then seemingly in order to ferment the pulp to alcohol … Actual drinking of chocolate probably came later, during Mayan times. Still, their cacao drinks were unsweetened and rather bitter; it would be the Spanish who came up with the winning idea to add sugar.
I will not dwell on the healthy aspects of chocolate and hazelnuts: it suffices to say that both – if consumed with some moderation (and allergies permitting) – contribute to life and well-being in general.
Thankful for the invention of ice cream-making (wholly unknown both to Stone age-people and the old Mesoamericans), I decided to make an ice cream based on these two nice ingredients. In spite of my normal predilection for starch-based ice creams, I now set out for a classic custard-based ice cream.
But making custard-based ice cream takes quite some time, right? True – it is not the given choice for the impatient ones. And most of the time it takes is actually spent waiting for things to cool down and chill! After the cooking, the ice cream base needs to cool down sufficiently to gain entry into the fridge (you do know that you are not supposed to put warm things, and certainly not hot things, straight into your fridge, right?). And once in the fridge, the base should ideally chill and spend at least 4-5 hours there, preferably longer (like over night) before churning … the reward being a better final result.
Putting my eyes on the price (and luckily being relatively skilled in postponing gratification; supposed to be a sign of maturity … hmm?), I went ahead anyway.
Making a good chocolate ice cream base
It might not come as a surprise to anyone that chocolate ranks very high on the list of the world’s most popular ice cream flavours. Consequently, there is also an abundance of chocolate recipes out there.
Looking through some trustworthy sources, I decided to follow the safe route paved by my favourite American in Paris – David Lebovitz. The recipe in his iconic ice cream-book “The Perfect Scoop“ seemed perfect for any chocolate aficionado – the only alterations I did was to reduce the amount of cream somewhat (instead using more milk, together with a couple of extra egg yolks to maintain overall stabilisation), and to add hazelnuts (and, optionally, a couple of tablespoons of Kahloa coffee liqueur, mainly in order to ensure a softer consistency).
By the way, one thing that I particularly like with “The Perfect Scoop” is the playful variety of suggested ways to prepare the ice creams. Many ice cream cook books tend to stick to mainly one or two different base recipes, then repeated with different flavours and add-ins over the pages that follows. David, on the other hand, regales the readers with several different ways of doing even the basic things. For that reason, you will find that the custard preparations here differ slightly from the routine that I normally tend to follow (see, for instance, these other posts). But ice creams can be prepared in many different ways – and it is allowed to experiment;-)
… and don’t forget to roast the hazelnuts!
Following common ice cream-making wisdom (and also well elaborated in David’s book), I began by roasting the nuts. Why? Mainly because non-roasted nuts start to turn soggy after some time spent as part of an ice cream (when the churning is over, a standard home-made ice cream still consists of about 60 % (unbound) liquid … no wonder that the inside of a seemingly frozen dessert actually can be a rather moist environment).
Some would probably also add that roasting the nuts may enhance the flavour of the nuts. After a 10 minutes-trip in the oven (180º Celsius (356º F) they were ready to be peeled (but do let them cool down somewhat before you begin that task …).
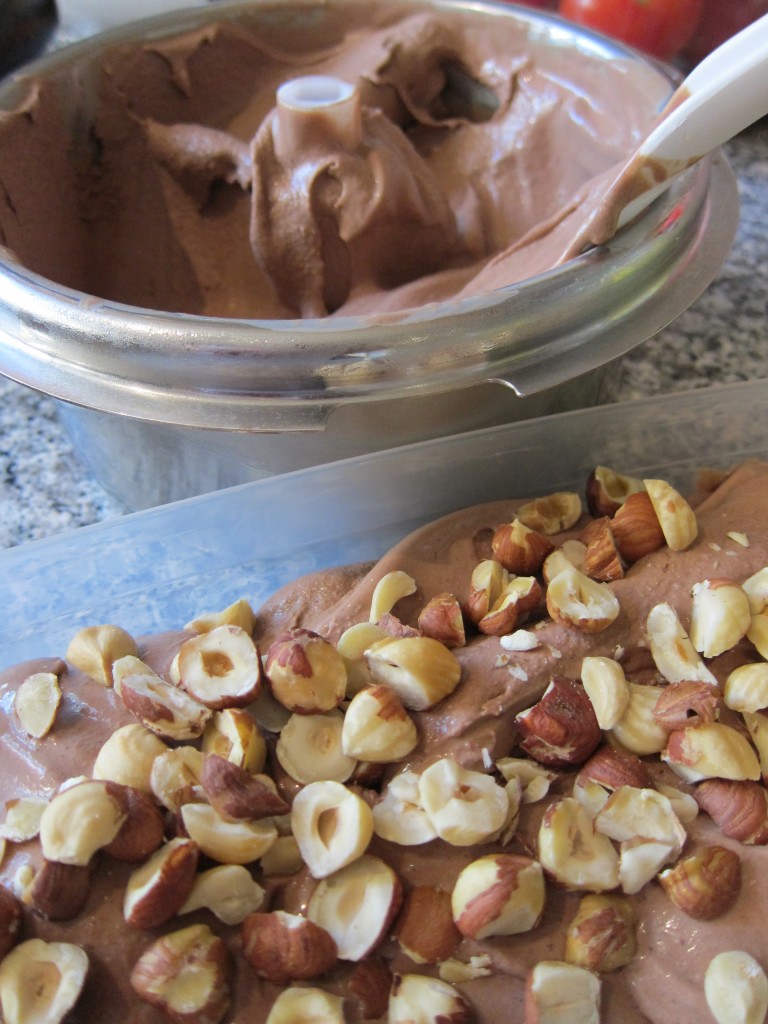
Once cooled down and preferably also chilled for a while in the fridge, the nuts should be added to the ice cream. I wanted them whole but if you prefer bits and pieces of nuts, just chop them up before using.
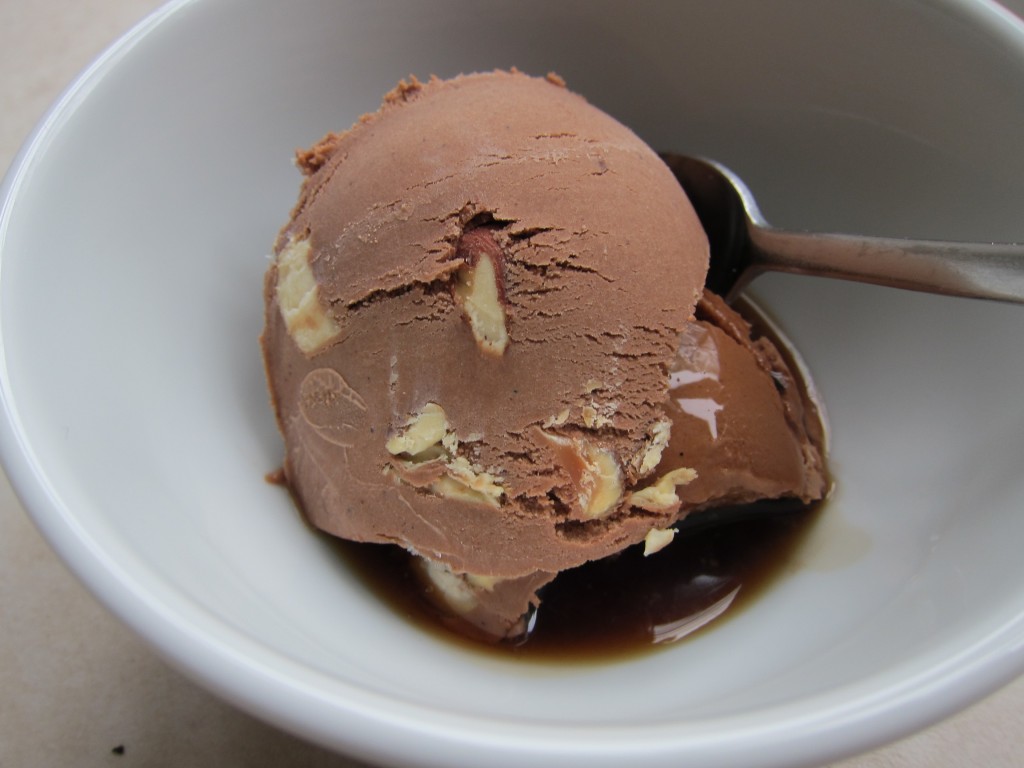
If you – like me – have a soft spot for chocolate and nuts, this ice cream will not last long in your home. It took me quite some willpower to resist the initial urge to enjoy most of it straight from the machine, right after churning. But I held out, just to be able to savour the more frozen, full-fledged ice cream that emerged after about 2-3 more hours in the freezer: Exquisite!
And in case you don’t mind using some alcohol, and want to give a further adult twist to this ice cream, serve the scopes with 1-2 tablespoons of Kahlua or any similar coffee liqueur: the combination is sterling!
- 375 ml ( cups) cream
- 375 ml ( cups) milk
- 3 tablespoons unsweetened (and Dutch-processed) cocoa powder
- About 150 gram dark chocolate (preferably at least 70 % cocoa)
- 150 ml (3/4 cup) sugar
- Pinch of salt
- 7 egg yolks
- ½ teaspoon genuine vanilla extract
- About 100-150 ml roasted hazelnuts
- (optional: 1-2 tablespoons of Kahlua coffee liqueur per serving)
- Put the nuts on a tray or similar in the owen, preheated to 180º Celsius (356º F), for about 10 minutes (until golden). During the roasting, shake the tray (and the nuts) at least once.
- Warm and blend 250 ml of the cream with the cocoa powder in a saucepan, whisking thoroughly.
- Bring to a boil, reduce the heat and simmer for half a minute while whisking all the time.
- Take off from heat and add the chopped chocolate, stirring until it has melted and the mixture is smooth. Stir in the remaining cream and transfer everything to a bowl. Place a sieve over this bowl.
- In a separate bowl, whisk together the egg yolks.
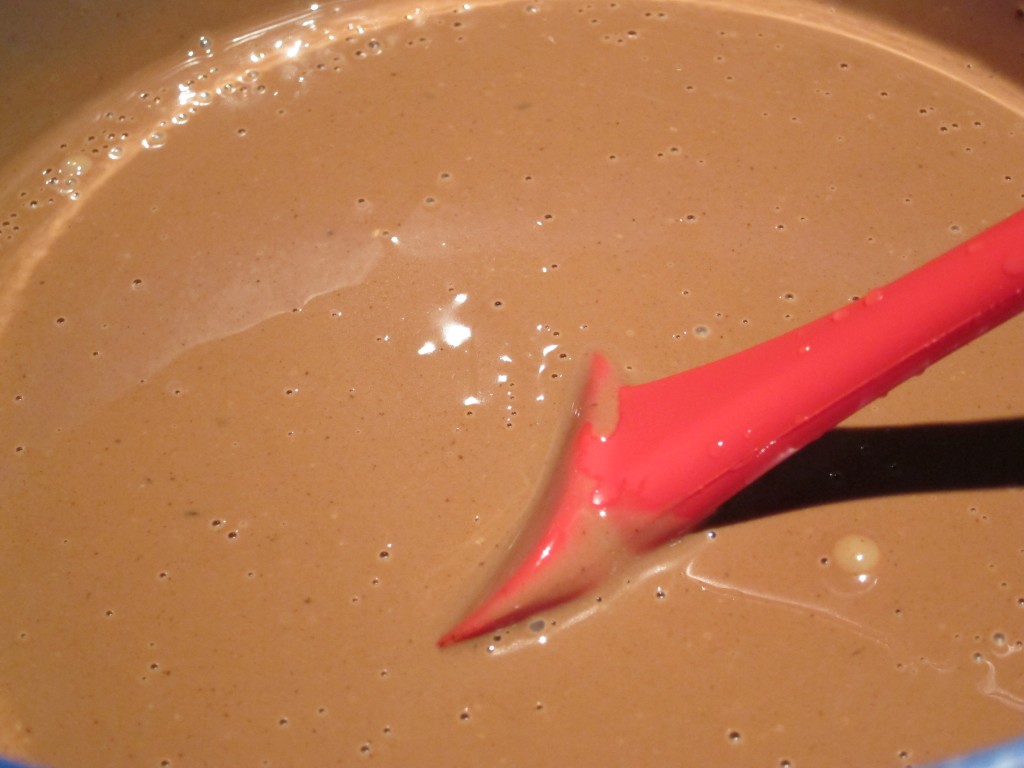
- In a saucepan, warm the milk, the sugar and the salt in a saucepan; then slowly pour it into the bowl with the egg yolks, whisking constantly. Return the mixture to the saucepan. Then stir constantly with a spatula over medium- to low heat until the mixture has thickened and coats the spatula (the Spoon-test), or until the temperature has reached bring the mixture to 82-84 degrees Celsius (179-183º F) on low-moderate heat - to be safe, use a thermometer!
- Pour the custard base through the sieve and into the chocolate base until smooth, then stir in the vanilla. Cool down the base.
- Chill the cooled-down base in the refrigerator preferably at least 4-5 hours or overnight. Then churn in your ice cream maker according to instructions. Add the hazelnuts either towards the very end of the churning (if in pieces), or after the churning has finished (whole nuts).
- Put the ice cream in a freezer-safe container with lid, making sure to cover the surface with plastic film before putting on the lid. Store in the freezer or skip the plastic film and enjoy it straight away!




Looks delicious! I love a good ice cream and this one looks great.